Sword of Sinew and Steel (MTG)

Description
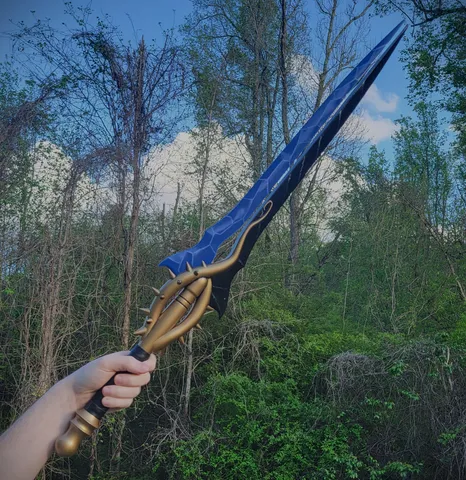
PDFAt full size the sword measure 980mm from tip to pommel. In order to strengthen it at that scale a .5 inch [12.7mm] and two 3/8 inch [9.5mm] dowels are used. To help with printing the sword has also been sub divided into 14 parts and oriented for printing.
For those who may want to make a smaller one. Included in the download is also the uncut model, in high and low poly counts.
Assembly
I recommend starting by putting together the two parts of the hilt along with the sinew side part 1 and steel side part 1. Those parts all go around a .5 inch [12.7mm] dowel and should be glued in place (I used 5-minute epoxy). Next assembly and glue together the sinew and steel side separately along a 3/8 inch [9.5mm] dowel, building the sided like this will make it easier to line the points up when you’re done. I found that using a few pieces of wood and some clips made assembly easier (see first image below).

Painting
I started with a coat of automotive filler primer, and then sanded of the sword smooth.

Then I painted the sword in a dark metallic metal color.

Next I did my best to apply a transition from white hot to cooled metal on the steel side. Then hand painted the handle, wrappings, sunken in sections, and blood spray on the sinew side.

Then finally I used a clear lacquer as a seal coat.
Tags
Model origin
The author marked this model as their own original creation.