Printed pretty well, works great for single extruder multi-material no MMU, EXCEPT for the F1 logo.
I cut it off in the slicer, printed it separately and glued it back on. Apart from that and maybe a little bit more thickness of the tyre wall text, so the colours show up better, this turned out really well.
Printed it as a gift for my dad who's a huge F1 fan and he was over the moon with it.
All assembled and glued together this thing feels solid and weighty.
If someone is so inclined, I bet it would be really cool to print the tyres in TPU (I did everything in PLA
Love these prints. This batch is for my daughter, I'm going to make another for me.
I printed the hard tyres (white) with a regular Z-axis change which created a seam down the back. So I tried a random Z-axis change on the soft (red) and medium (yellow) tyres, which caused the surface of the tyres to be quite pitted. My wife says they just look like they've had a couple of laps. I went back to the regular Z-axis change for the inters (green) and wets (blue).
Needing to conduct a filament change for the colour change on my Ender-3, after the change on the hard tyres, the nozzle started to print at the "P Zero", which didn't take immediatly well. So for the other stacks I rotated the model before slicing so the nozzle would start the new colour on one of the solid lines. This produced a much better finish.
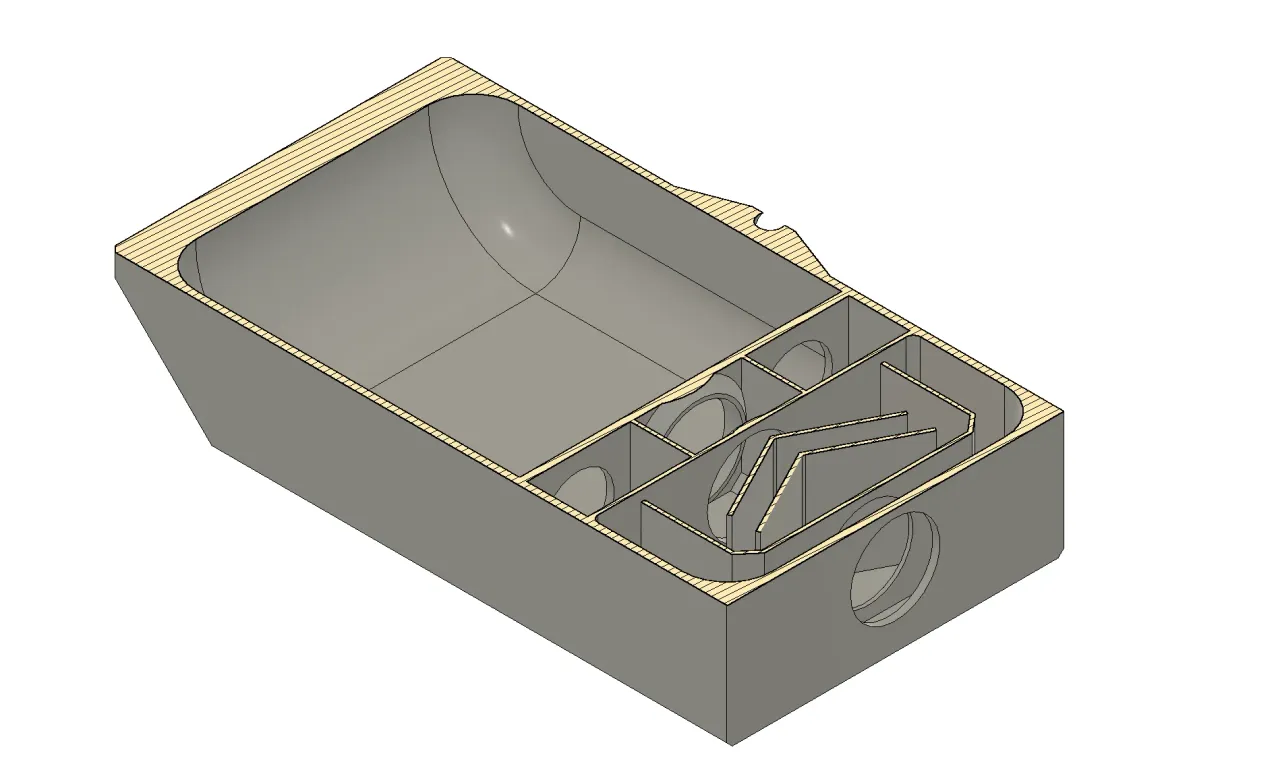
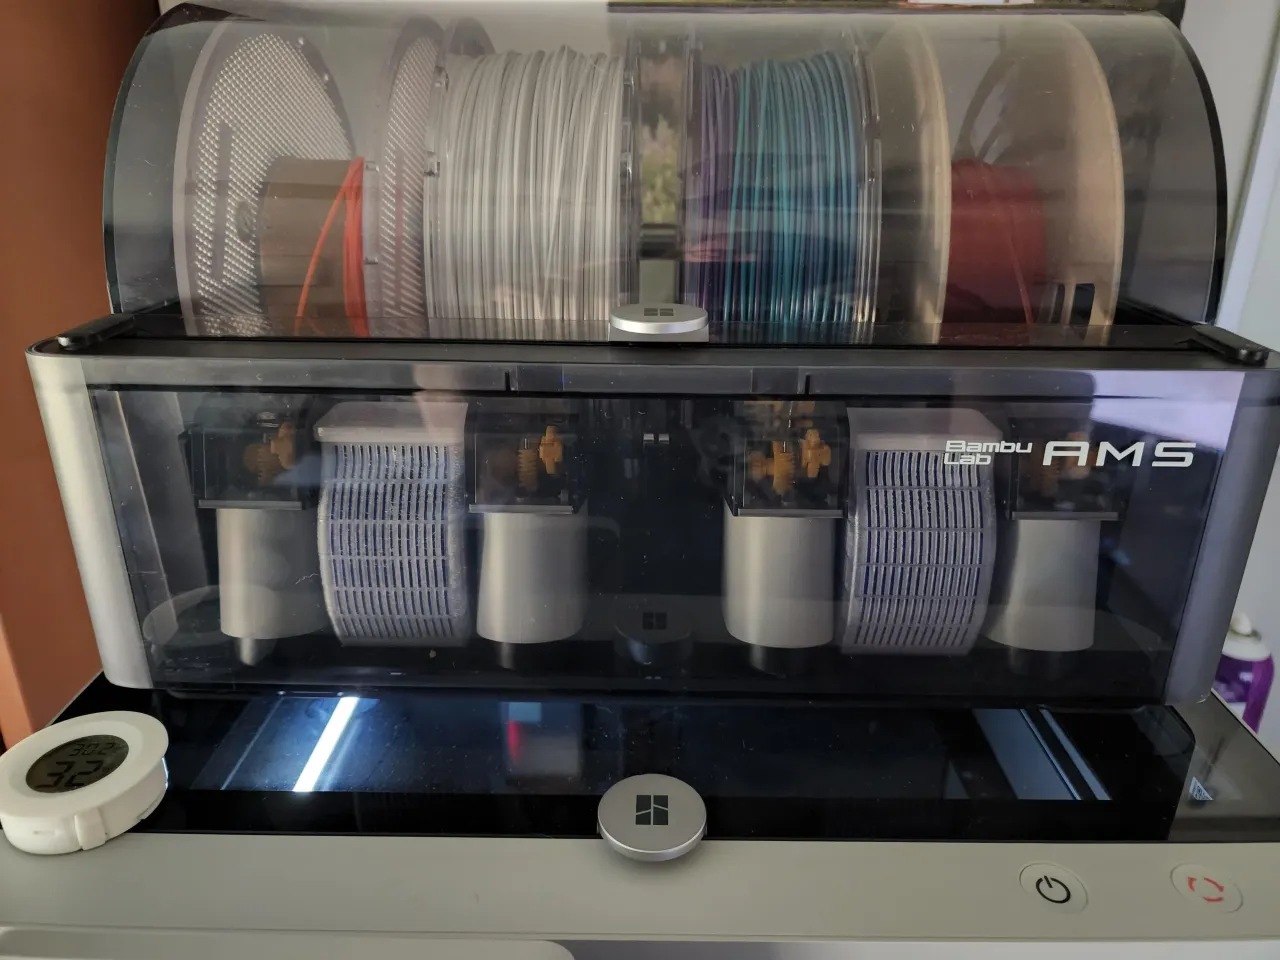
My original humidity was hanging around 50% and adding these pods with rechargeable silica gel brought the humidity down to 10% within 10 mins. I think 2 pods may be enough but may remix a 3rd to be able to fit the humidity monitor I am using.
I have printed the tools for the pfte release but wanted to get something like these so they are just there and I dont have to hunt down the little tool. They are straightforward and do the job! I printed a handful so I have some of both on hand. Thanks!