


printed with ASA, no more temp-problems!!!! (edited)


This is amazing, thank you! I have a K1C and Version 1 is a perfect fit.


Hey I’m interested in printing this I’m guessing everything needs to be printed 1x except for the front corners, which you need 2X right?
@AaronKelley_451572 honestly, i probably won’t use 15 of them I have been trying to see if i could just buy 2 of them.
Just an update, I found some nails that are 5mm thick and long enough to use for the hinge pins. I’m going to cut them to length and glue the red knobs on the end. So if anyone comes across this post you don’t have to buy any hardware, take a look through that bin of screws and bolts you have in your house!
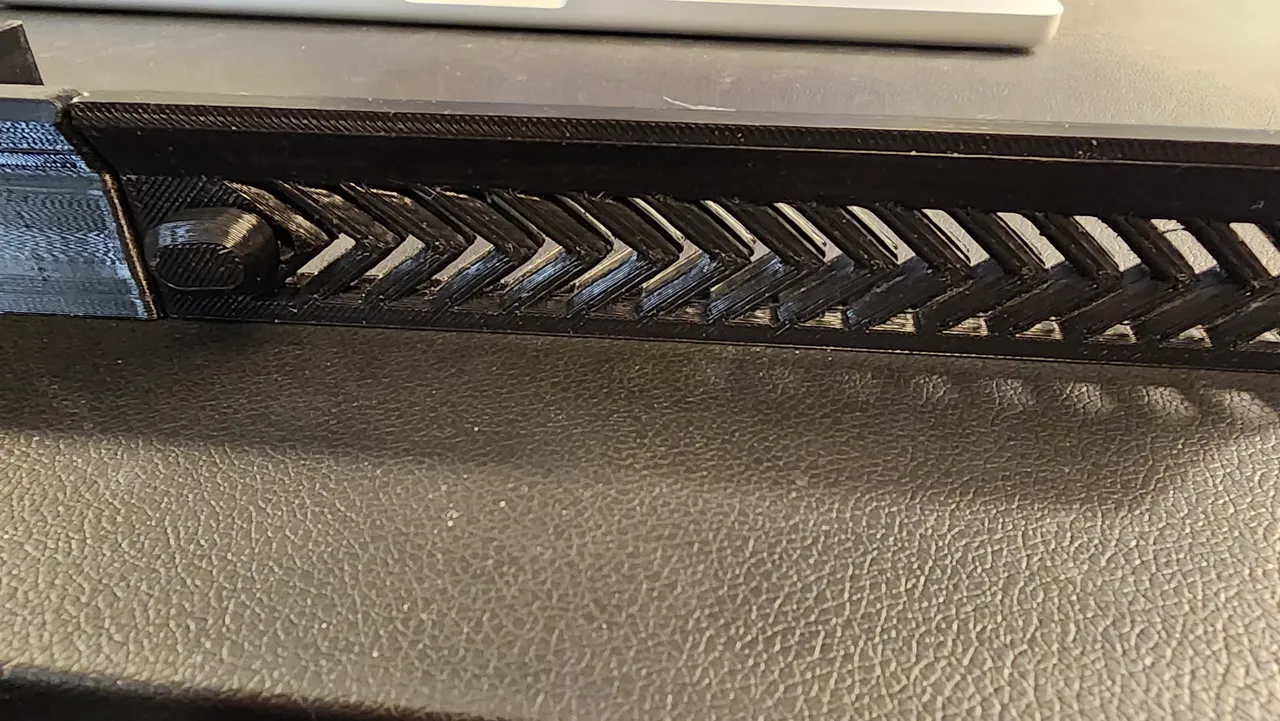
I was finally able to get this printed after a week of fighting with getting the parts printed.
Here are some tips I have for anyone looking to print this riser:
I tried to get as many parts on the bed to print at once and I had issues with that. I was able to print all the corner pieces and pin knobs in one shot with supports. I tried to print all the bars in one print and that’s where I was having issues. I kept getting clogs in the nozzle. Then I tried to print 2 at a time, and had a positive result printing the left and rear bars together but not the front and right. I then tried to do 1 at a time and flip them on the flattest side and I kept having issues. I was successful by printing each the right and front bars on their own, standing up with supports.
I also did not use the m5x60mm dowel pins I used some nails I had, cut the size, and glued the pin knobs onto the end and it works great. Just make sure you don’t let the lid slam!
Aaron I think you could definitely make the left bar have a light strip as it’s higher than the camera and I’m not seeing any glare with the light stuck to the left side. (edited)


@3rdnfnlbst_2045645 Just FYI, you can print a light bar on the left side as well if you want, just mirror the axis. As I primarily need the lighting for monitoring prints remotely, I didn't see the need for additional lighting on that side, but it's easy enough to do with the existing model by mirroring that right side bar. If the concern is having a beveled 45 corner on the front bar to match with the left, I can certainly knock out a quick add-on for that if desired as well. I'm happy to entertain any requests for improvements/modifications that others may find useful. It's my way of giving back to the community.
I've thought about ways to slow the lid closure, but didn't see a good way to go about it without overly complicating it, especially while keeping the lid easily removable for PLA prints or more in depth maintenance. Honestly, I've had the lid slam shut on mine from full open by accident a couple of times with no issue, as the lid appears to cushion from the air a little if your front door is closed and you have a sufficiently sealed enclosure. It's actually the reason why I increased the open angle to 100 degrees from 90, as it was a lot easier to accidentally bump the lid closed before I had the lid tilted back further.
There's always the option to add weatherstripping around the top edge of course. If that's of interest, I can see what's available to that end that gives good cushioning, and put out a version with that option as well.
@3rdnfnlbst_2045645 BTW, I noticed you're still using the stock filament runout sensor. I highly recommend Henlor's mod that moves the filament runout sensor into the extruder housing. It makes for a much easier to feed setup, allowing you to have a single bowden tube all the way from your drybox/spool holder, and reduces issues with feeding new filament. It's why you may notice in my pictures that there's just a bowden tube coming into the enclosure. It's a fairly simple mod and makes filament changes so much easier.

made a set and works great.. only issue is the last arrow is off center but still looks good.. would be nice to have different designs or something
@Nalacha_542804 sure thing. I'll see what I can do. Been sidetracked with a few projects lately, but will definitely come back to this one with changes, including lighting mounts as I have similar desires for it. I was also considering having a couple of different vent designs as well.
@AaronKelley_451572 nice!! Let me know, oh and with the aliment of the vents I broke the leaver and re-glued it and now it's perfect so maybe the base of the handle a bit slimmer like 1mm on each side I think they will be close to perfect! (If that makes sense


