MK4 Nozzle Replacement Tool


Opis
PDFWith the Nextruder, you have two ways to change the nozzle - you can replace the entire hotend or just switch out the nozzle without removing the whole assembly.
However, changing just the nozzle involves some risk. You need to grip the heater block firmly as you unscrew the nozzle. If you put too much pressure on the nozzle that's still partially connected to the heat break, you might bend the nozzle tube. Also, the heater just hanging on the wires once the nozzle is removed is far from ideal.
This accessory secures the Nextruder's heater block firmly in place. It allows for rapid nozzle changes with minimal risk of bending the nozzle tube. The development of this accessory was inspired by IBNobody's Nozzle Change Heater Block Clamp.
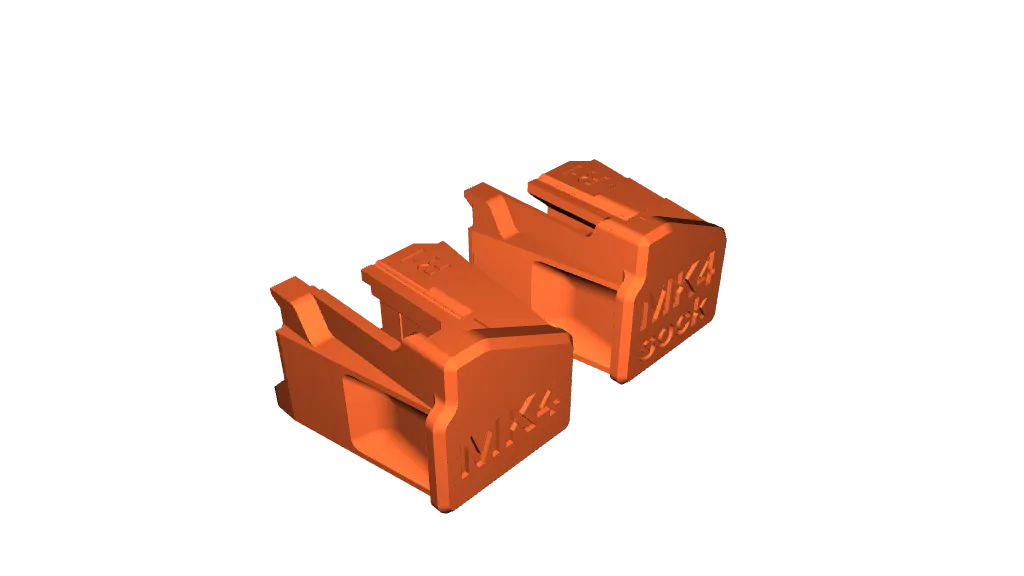
Available Variants
- Nozzle Replacement Tool - MK4 sock: For use with a hotend that has a silicone sock.
- Nozzle Replacement Tool - MK4: For use with a hotend without a silicone sock.
Print instructions
- print settings: 0.20mm STRUCTURAL, 2 perimeters, 15% Grid infill
- print material: We suggest PC Blend Carbon Fiber (For high temperature resistance in case the heater is still a bit warm, but PETG is also an option)
Required tools
- Uni-wrench or HEX 7mm socket
- Steel brush (for cleaning the nozzle and heaterblock)
Attention
- This tool is not compatible with E3D HF nozzles.
How to guide
Safety and Preparation:
WARNING: Ensure the printer is completely cooled to ambient temperature before beginning installation. Attempting to install the Nozzle Replacement Tool on a hot printer can result in serious injury due to burns.
TIP: To prevent damage to the print surface by dropping an object, it is recommended to cover it with a protective layer (e.g. piece of cloth, thick cardboard).
Installation:
- Unload the filament from the Nextruder.
- Make sure that the heaterblock is clean.
- Turn the printer OFF.
- Open the fan door completely (left fan) to ensure you have unobstructed access to the hotend.
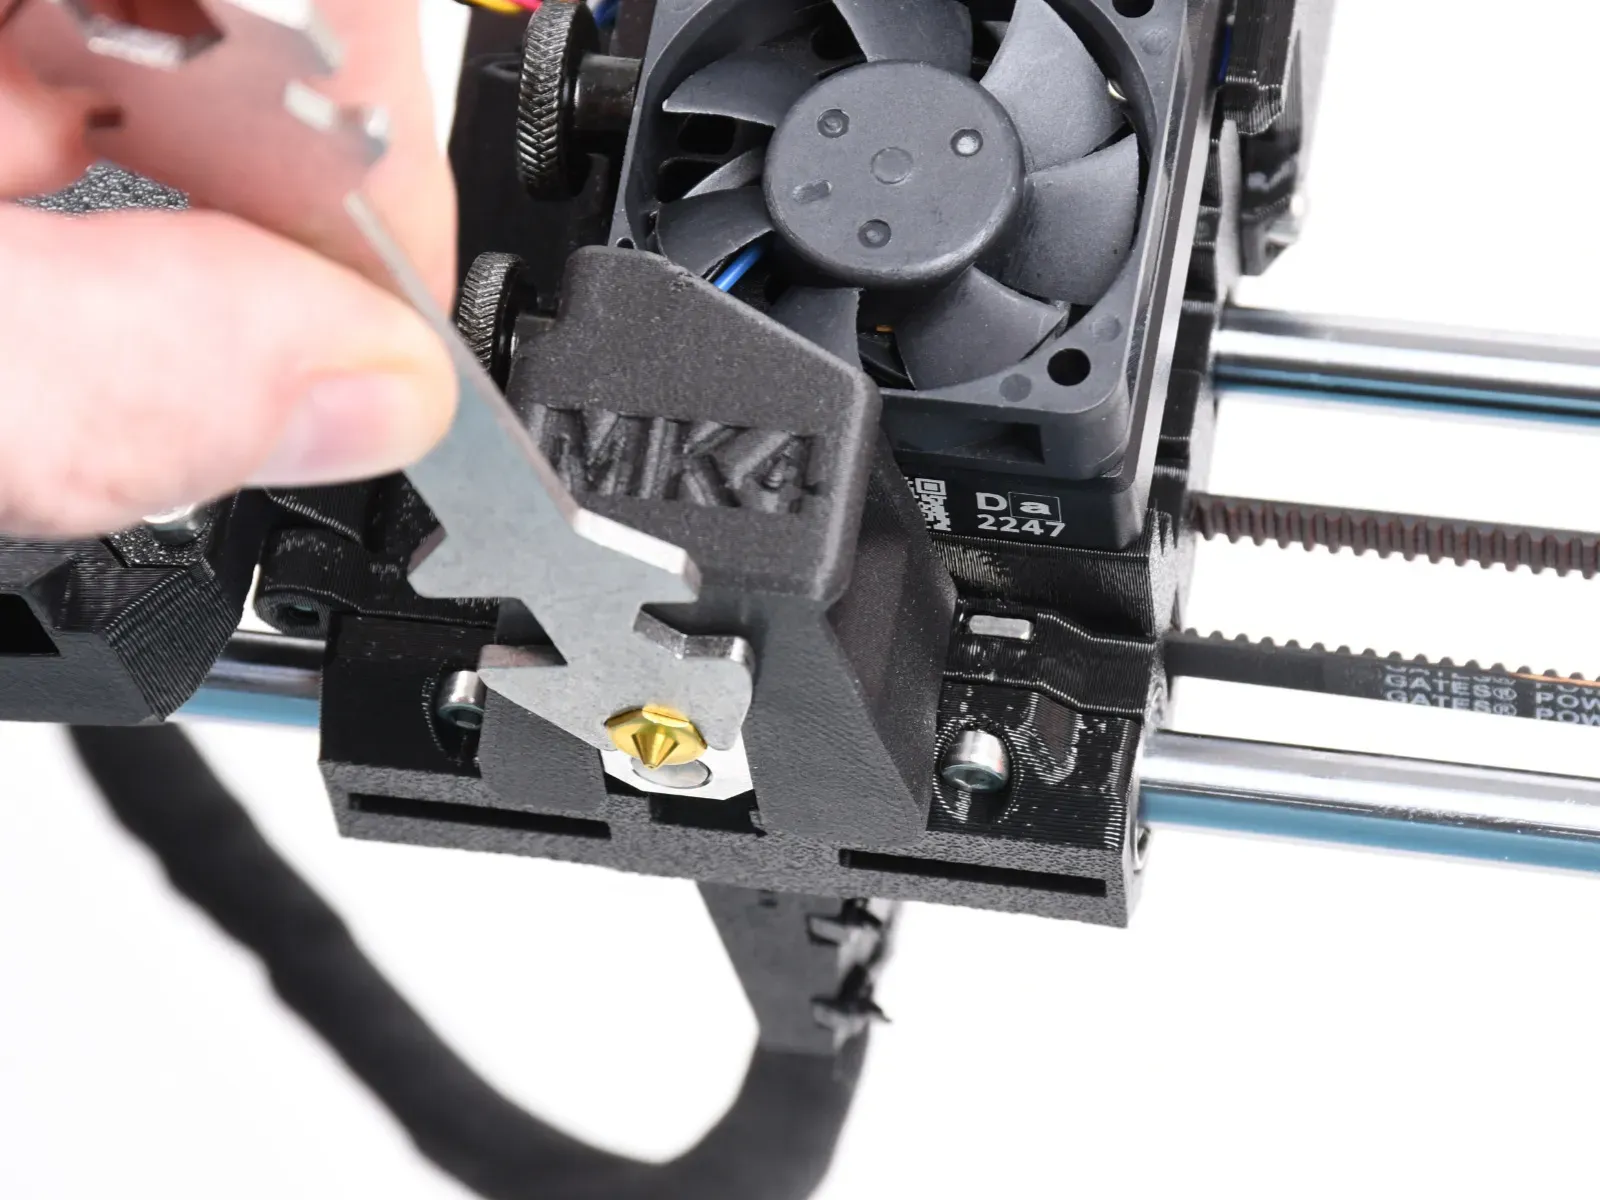
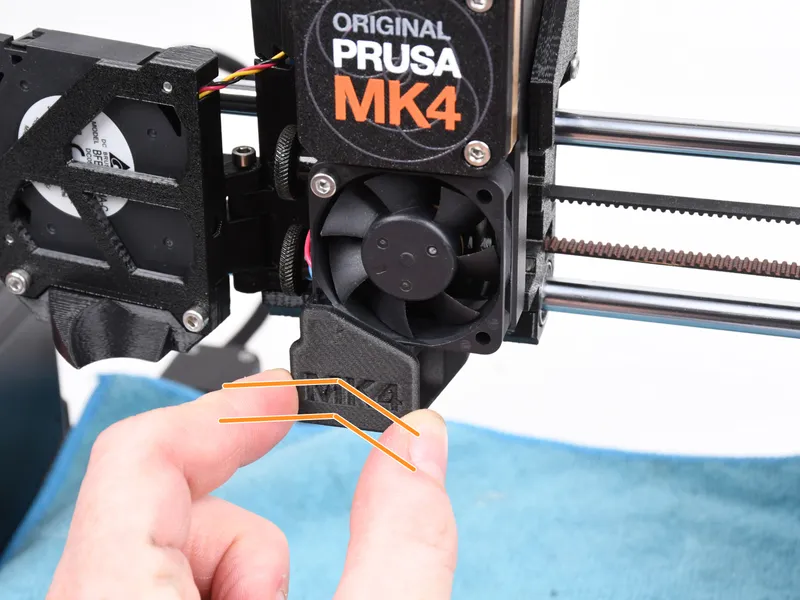
- Carefully align the MK4 Nozzle Replacement Tool with the hotend's heater block. Make sure you're using the correct variant of the Tool for your hotend setup (with or without a silicone sock).
- Gently slide the Nozzle Replacement Tool onto the heater block.

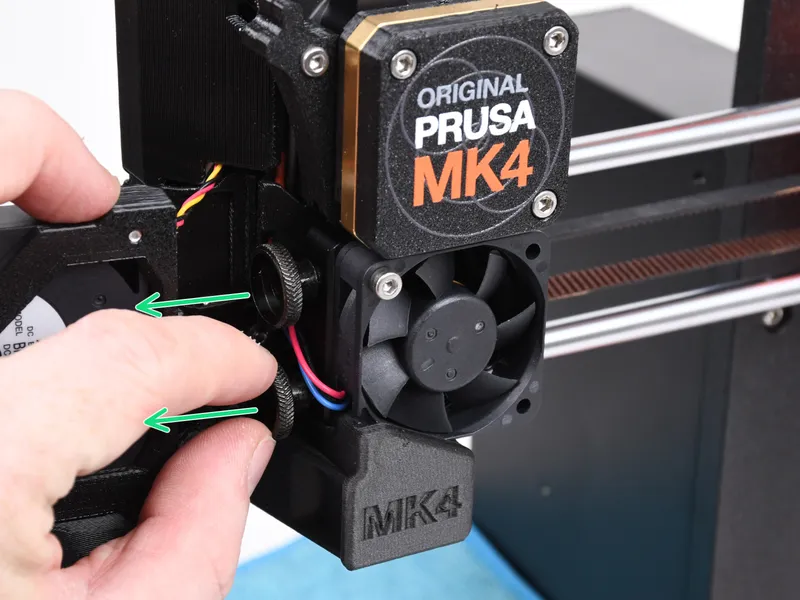
- Proceed to push the Tool towards the heatsink fan, ensuring it is securely in place.
- Loosen both thumbs screws securing the hotend inside the Nextruder. Do not remove them completely. A few turns are enough.
- Now, you can easily release the nozzle.

CAUTION: After replacing the nozzle, do not forget to tighten both thumb screws securing the hotend in the Nextruder!
Changelog
- 03/2024 - Initial version 1.0 (R1)
Tagi
Pochodzenie modelu
Autor oznaczył ten model jako własne oryginalne dzieło.