Simple Creality Ender 3 v3 KE triple 4010 fan mount

Description
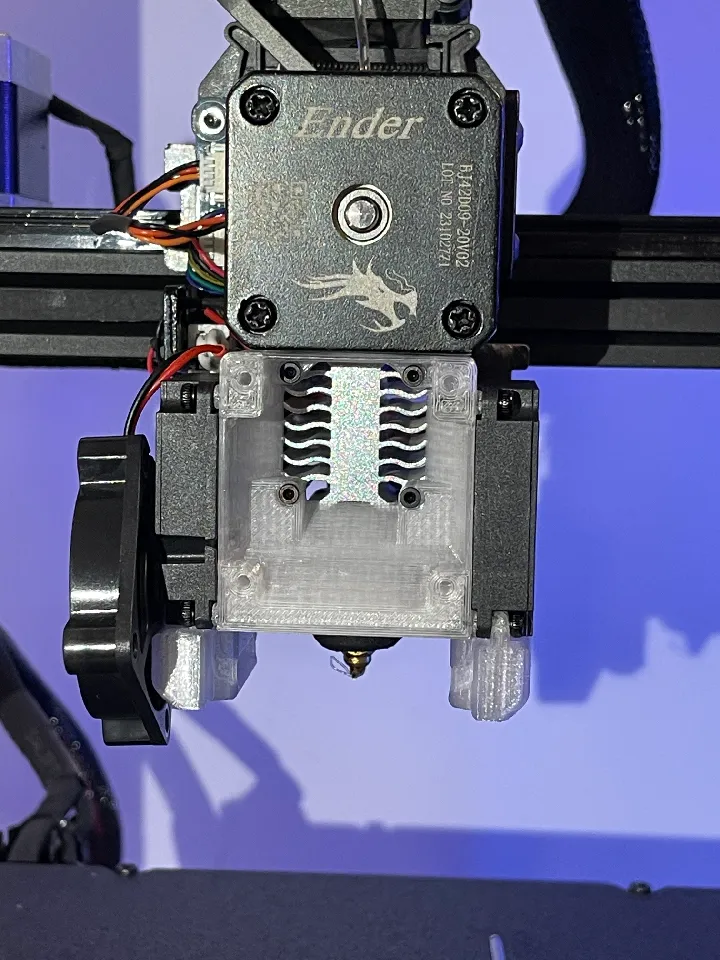
PDFSimple fan mount replacing the whole Ender 3 V3 KE extruder housing, while improving on it by including a bigger 4010 fan. It's designed to be printed easily, without unnecessary overhangs, at the expense of some additional weight and material. Whenever I've got the time I'll design a more optimized one for those that would prefer that.
Currently I have not had the time to design a fitting duct for the two model fans yet, so instead I'm using the ones based on the stock KE ducts from here. Eventually I'll design my one ones, or take it upon yourself to create your own ducts.
Print parameters
---------------------------------------------------------------------------------------------------------
As far as material and print settings most things should work, but I wouldn’t recommend anything with a low melting point, we are mounting this to the heatsink after all. I used PETG printed at 250 degrees, 4 walls 35% 3D honeycomb infill.
Materials
---------------------------------------------------------------------------------------------------------
1x Ender 3 V3 KE (or SE? Someone with an SE wanna try this?)
1x 4010 or 4020 24v standard fan
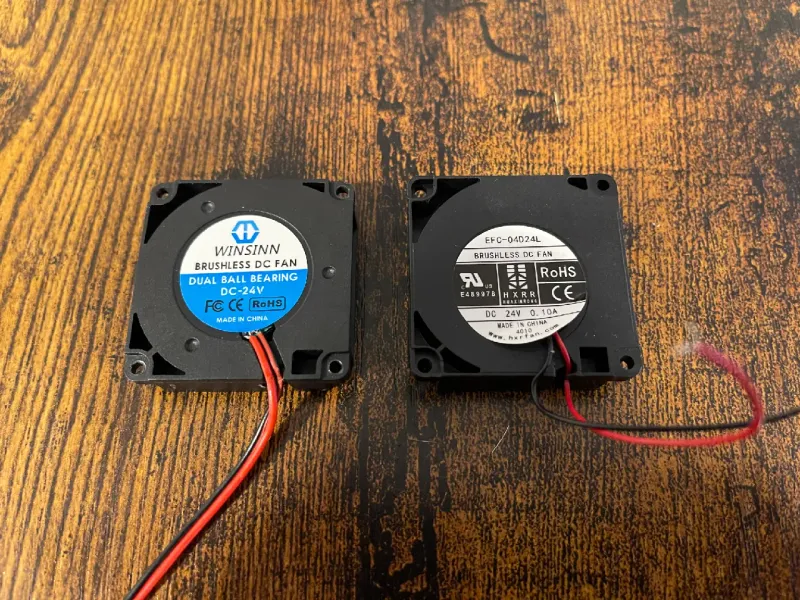
2x 4010 24v blower fan, like already present on the KE. I suggest getting dual ball bearing
4x M2 12mm
10x M2.5 10mm
There are some screws that could be shorter or longer.
Assembly
[1]
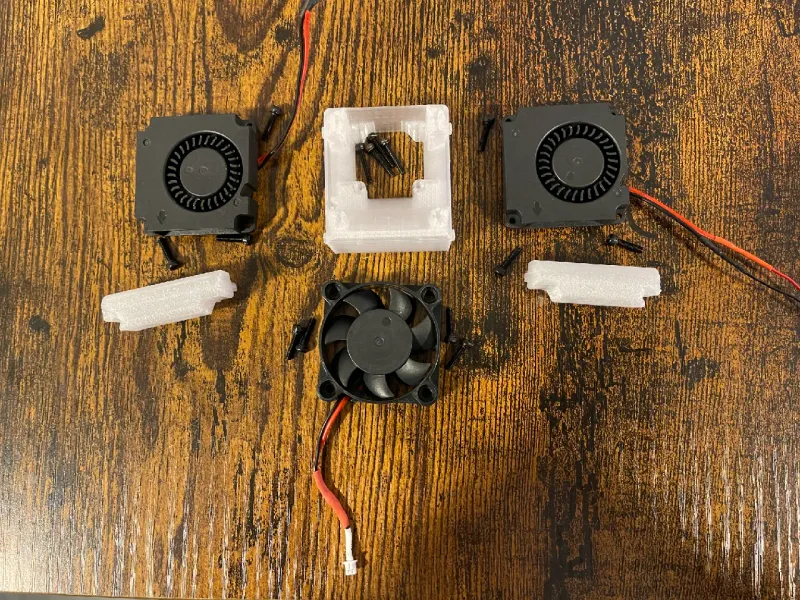
First get the fans ready, make sure you have all the fans functional by testing them before assembly.
Note how the bottom of your fan looks, I've noticed the stock fans do not require the small standoff that I required for my fans. If your fan does not require it, just snap this standoff with some pliers off the print.
Both side fans have the cable length at 80mm and the hotend fan at 60mm, but anything longer or shorter would work as well.
Release the fan cables of the two side fans from their clamp so they can be routed from the back. Be careful because this clamp protects the solder points on the motor, so don’t pull too hard on these and secure them in place with a small piece of tape.
[2]
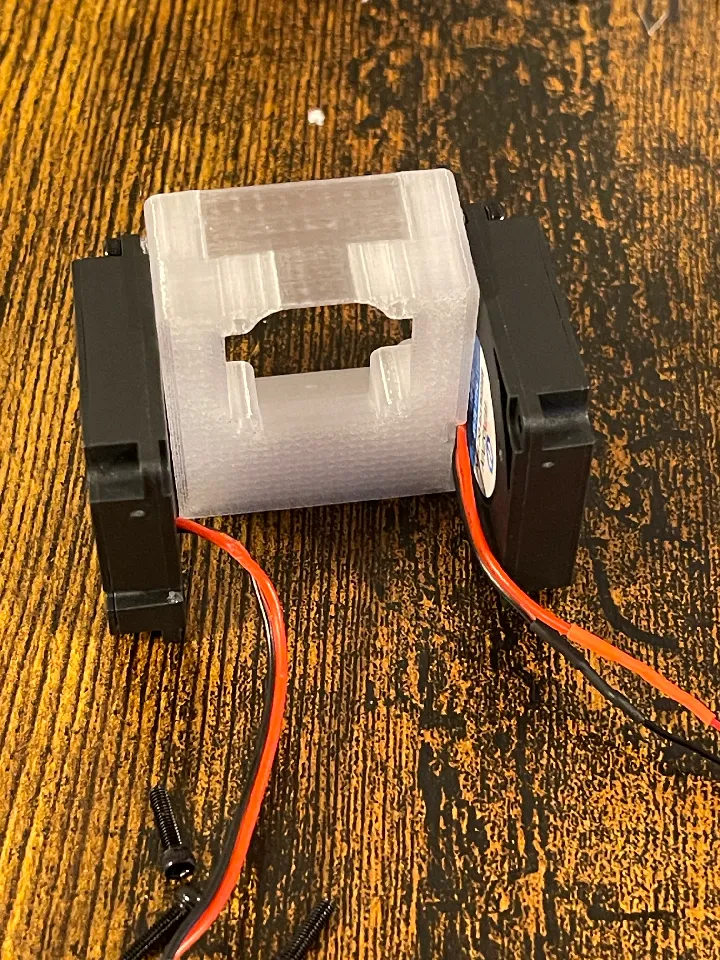
Start by mounting the left fan by positioning the cable in the groove and fix it with the top M2.5 screw, also mount the fan on the other side from the top.
[3]
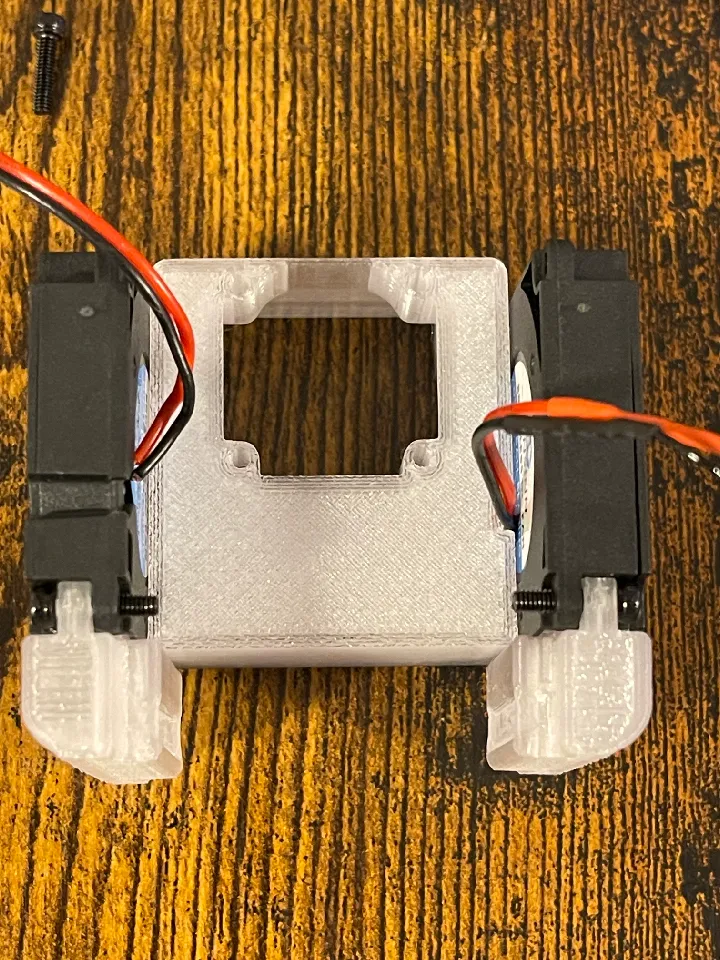
Next mount the shroud on both sides to the bottom using the M2.5 screws.
[4]

Now that the fan assembly is ready, start preparing the other cables to the hotend in a way that the assembly fits. There should be enough clearance for everything to fit nicely.
[5]
When it’s ready, continue by routing the cable of the right fan behind the heatsink, and plug in the hotend fan. Install the assembly to the heatsink using the M2 screws and finally mount the hotend fan with the remaining M2.5 screws. Plug in both side fans and manage the cables if necessary, and check if all functions of the printhead assembly are working properly.
[6]

Enjoy the hotend assembly with its new fan mount, preserving the function of the stock housing, while improving on it with a bigger fan!
After you've changed the cooling characteristics of your hotend assembly, it is wise to run a PID tune. Paired with the Micro Swiss hotend and heatsink, the hotend remains stable within a 0.2± celcius range during printing!
---------------------------------------------------------------------------------------------------------
----------- ----------- ----------- ----------- ----------- ----------- ----------- ----------- -----------
---------------------------------------------------------------------------------------------------------
Tags
Model origin
The author remixed this model.

Differences of the remix compared to the original
The fan mount I designed uses the two fan shrouds from this model. Eventually, these will be replaced or you can create your own design.