Sovol SV06/SV06 Plus Ultimate Raspberry Pi/92mm Fan PSU Case

Description
PDFThis is the ultimate OctoPrint/OctoPi solution for your SV06 or SV06 Plus! It allows you to incorporate a Raspberry Pi directly into the PSU unit, all while making the PSU totally silent by adding a slow spinning 92mm cooling fan. The Raspberry Pi and 92mm fan are powered directly from the 24v printer PSU by utilizing dual LM2596 buck convertors. No external power supplies are required, everything is self-contained within the printer. The Raspberry Pi USB and ethernet ports are accessible directly from the back of the printer. The large 92mm fan will not only cool the PSU, but also the Raspberry Pi and buck convertors simultaneously.
This model has plenty of intake slots to eliminate air noise, and has threaded holes that accommodate the original m3 screws from the psu for maximum ease of installation. Fan voltage can be adjusted at any time from the outside of the machine. Prints without supports.
Components needed:
- 2x LM2596 buck convertors
- 1x 92mm fan (I recommend the Arctic F9)
- 1x Raspberry Pi (Tested with a Raspberry Pi 3B, but should work with a 4 or 5 as well)
- Breadboard jumper wires
- 2x m3x5 screws (to mount LM2596 buck convertors)
- 4x m2.5x5 screws (to mount Raspberry Pi)
- 4x m5 course thread fan screws
- Soldering iron/solder
Installation guide:
Prepare LM2596 buck convertors:
LM2596 1 (Raspberry Pi):
Solder wires to input side (this will connect to PSU 24v). Solder female breadboard jumper wires to output side. Using a multimeter, set the voltage to 5v (Pi 3B is happier with 5.1v, but do this at your own risk).
LM2596 2 (Fan):
Solder wire to input side (this will connect to PSU 24v). Solder male breadboard jumper wires to output side. Using a multimeter, set the voltage to around 7.5v (this can be adjusted later from the outside of the machine, and controls the fan speed).
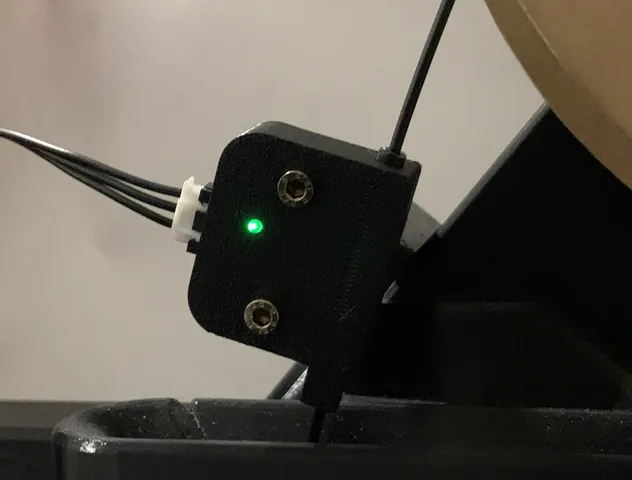
I recommend covering the LED indicators on both buck convertors with some electrical tape. The blue indicator lights are very bright, even inside of the enclosure.
Installation:
- Remove the four bolts from lower plastic cover of PSU (the part with the power switch) and move out of the way as far as possible.
- Remove the six m3 screws holding on the PSU fan cover (four on the sides, two on top).
- Unplug fan from PSU and set fan/cover aside (these parts will not be used, but it's best to keep them as a backup, or if you every want to return the printer to its stock configuration).
- Connect both buck convertor inputs to the 24v terminals on the bottom of the printer PSU (use a multimeter to check polarity and voltage).
- Attach the LM2596 converters to the bottom of the printed enclosure. They will be mounted upside down with one screw in the corner of each. Make sure they are oriented so the voltage adjustment knobs are lined up with the adjustment access holes in the enclosure.
- Mount the Raspberry Pi using four m2.5 bolts (make sure your micro SD card is pre-flashed with OctoPi and inserted as it is difficult to access after installation).
- Mount the 92mm fan inside enclosure using four fan screws. It should be mounted in such a way that it is pulling air out of the enclosure.
- Connect the 5v buck convertor output to the Raspberry Pi's GPIO pins (on my 3B, pin 2 was 5v, and pin 3 was ground, but check your specific model to be sure).
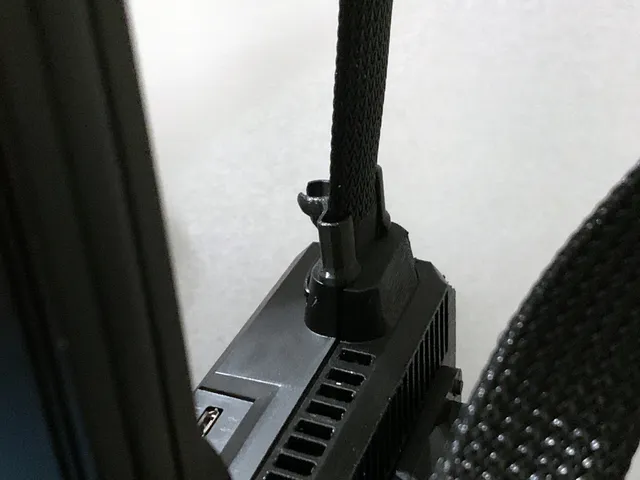
- Connect the fan buck convertor output to the fan (pin 1 on the fan plug is ground, the pin next to that is positive).
- Use zip ties to secure any loose wires.
- Attach the printed enclosure to the PSU unit using four of the original m3 screws (the bottom two mounting holes on the PSU are no longer used).
- Reattach the lower plastic cover of PSU (the part with the power switch) using the four original bolts.
- Run a micro USB cable from the Raspberry Pi to the printer. It is recommended to use a micro USB cable that supplies data only, not 5v power as the Raspberry Pi can back-power the printer, potentially causing damage.
Now when the printer is turned on, the Raspberry Pi will turn on as well, starting your OctoPrint server. Pair this with a Wi-Fi smart plug for your printer, and you can start prints from anywhere!
Be sure to check out my other mod to add a 92mm fan to the SV06/SV06 Plus motherboard box as well. It pairs great with this, as you can use the same buck convertor to power both fans.
Tags
Model origin
The author marked this model as their own original creation.