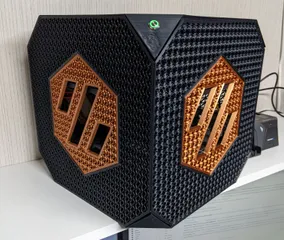
Cube mATX PC case with ATX power supply
Description
PDFI could not find a case to print that would allow me to use all my current PC hardware, so I made one…. This should work with any video card up to 280mm long.
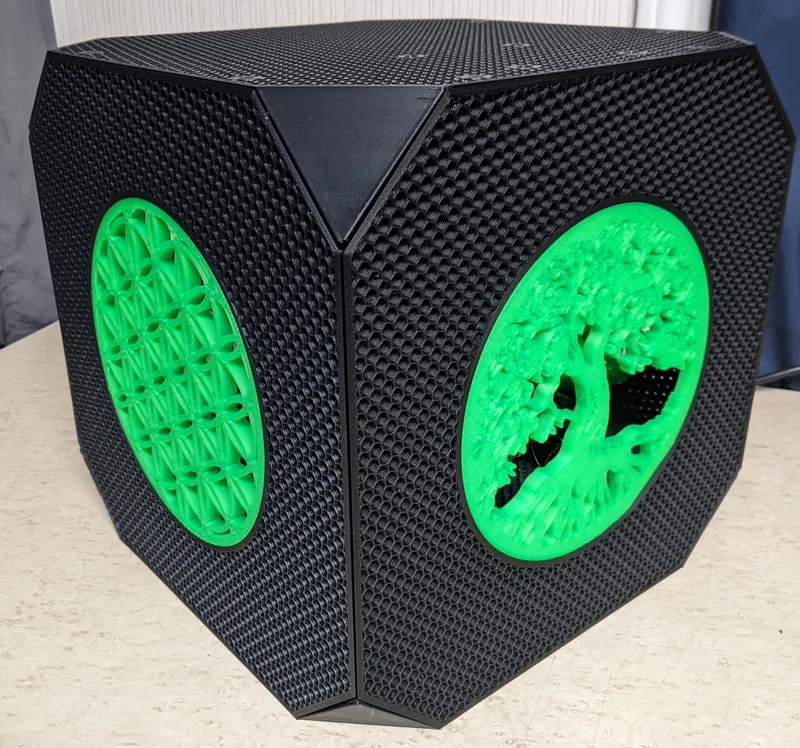
This is a 300mm cubed case that was printed on my Voron 350 running at about 100mm/s and it takes about 26 hours to print. Printed with black Elegoo Rapid PLA+ and a copper silk PLA for the inserts. Printed at a .32 layer height, 20% infill and no supports.
As you can see in the pictures I have also printed this with 5 walls and no top and bottom layers with both honeycomb and gyroid infills and they look great!
I've added the step files so it should be easy to build custom inserts for whatever you are into.
In addition to the computer hardware and printed parts you will also need:
35 M3x4x5 threaded brass inserts
7 - M3 x 6mm machine cap screws (motherboard)
28 - m3 x 10mm machine cap screws
1 - 12mm power switch
All of these I was able to get from Amazon.
Assembly:
NOTE: These pictures are of the Hex insert version but assembly is the same.
Start with installing all of the threaded brass inserts in the front and sides of the case like the pictures. Note that some motherboards do not use all of the mounting holes. Also, there are inserts on the botton 2 tabs on the sides that cannot be seen in the picture. Also install inserts in the top and bottom tabs of the front panel.
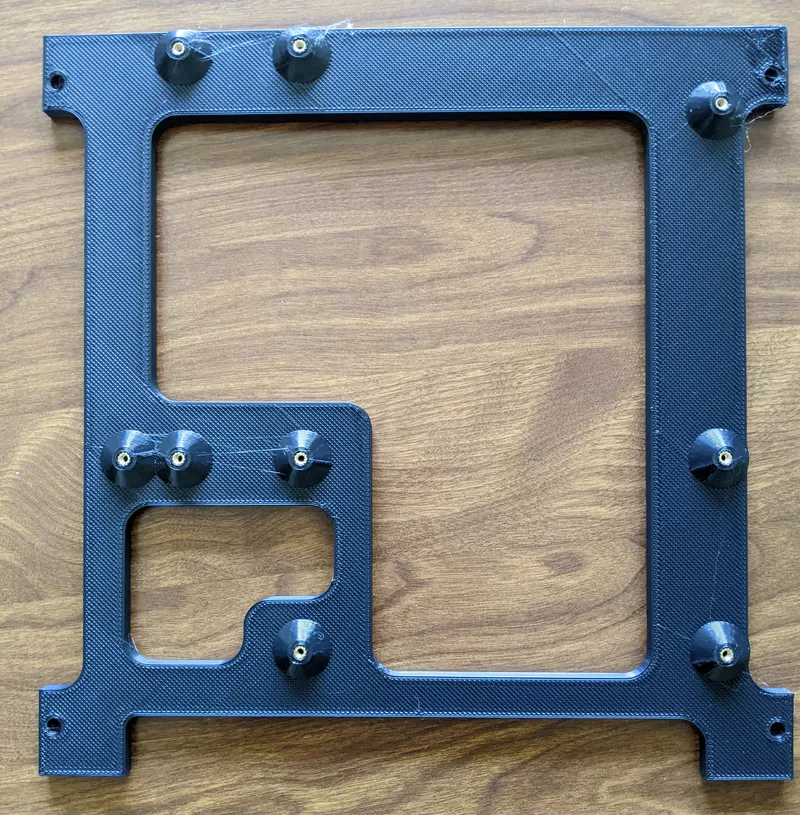
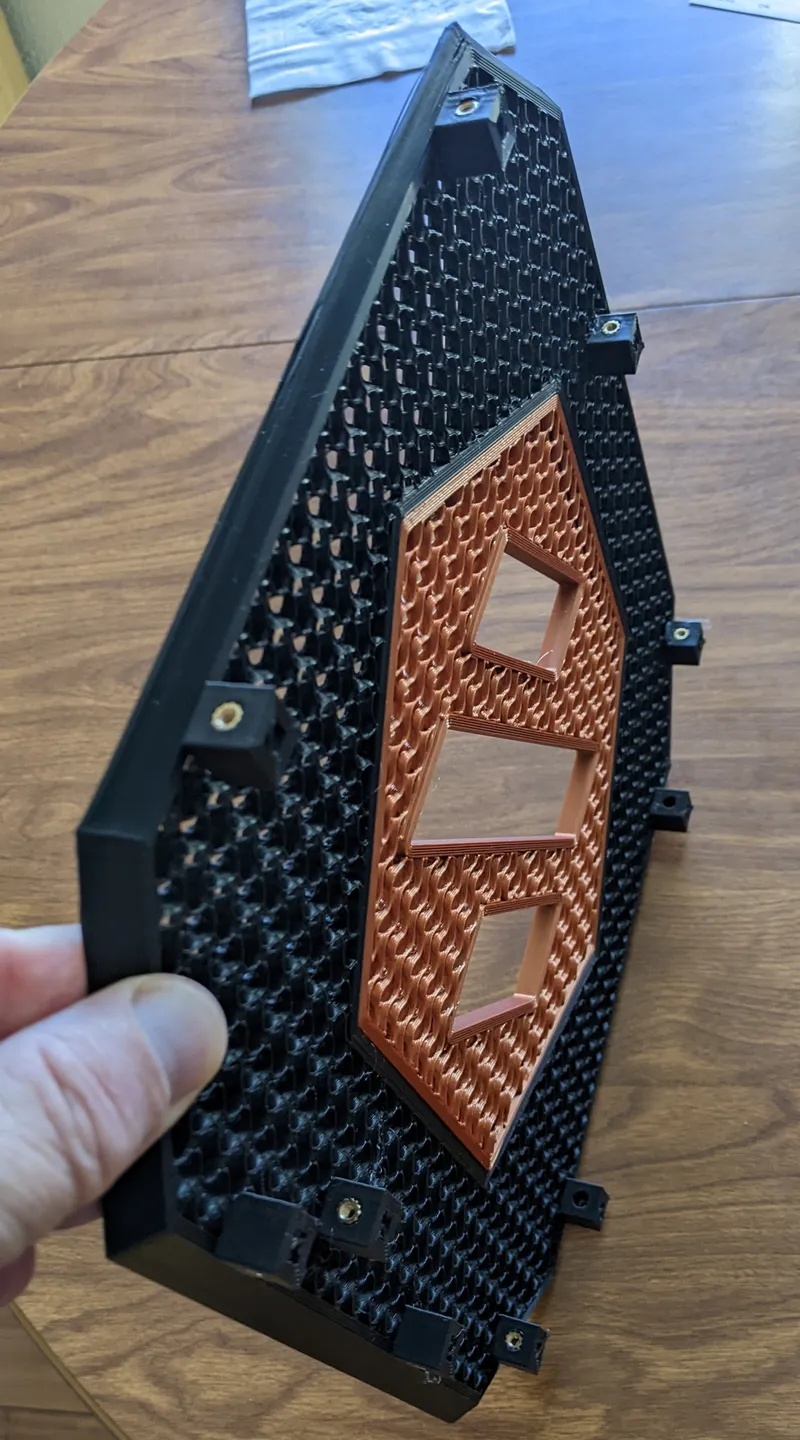
Assemble the sides, bottom and motherboard shelf using M3 x 10mm screws
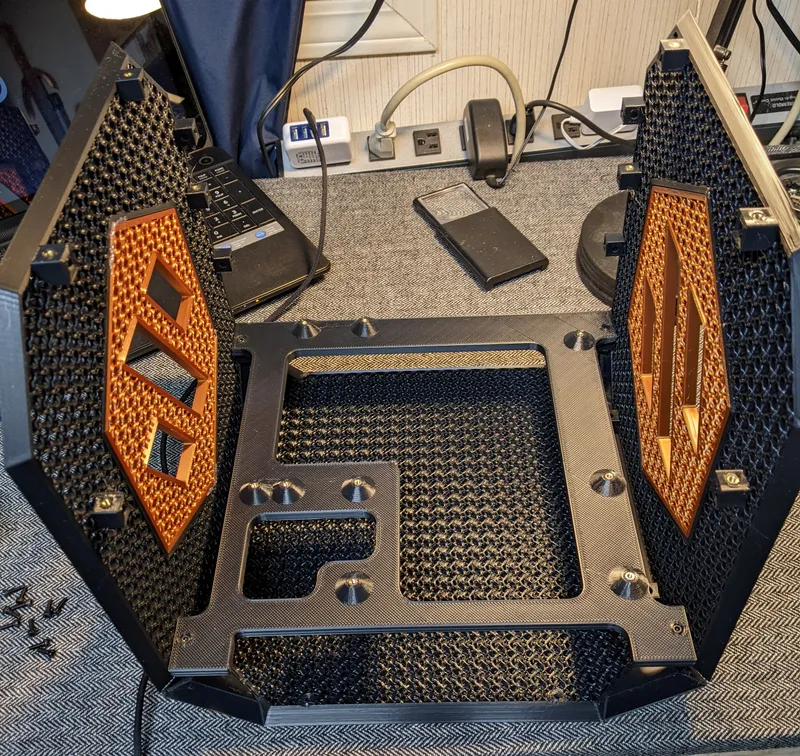
Install the motherboard (M3 x 6mm) and video card
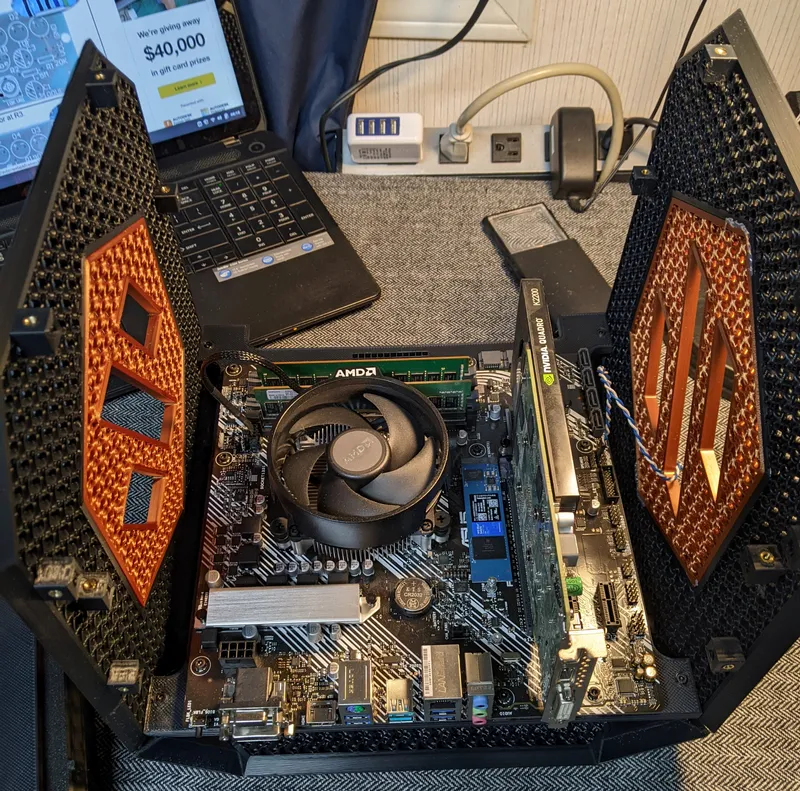
Next add the power supply shelf
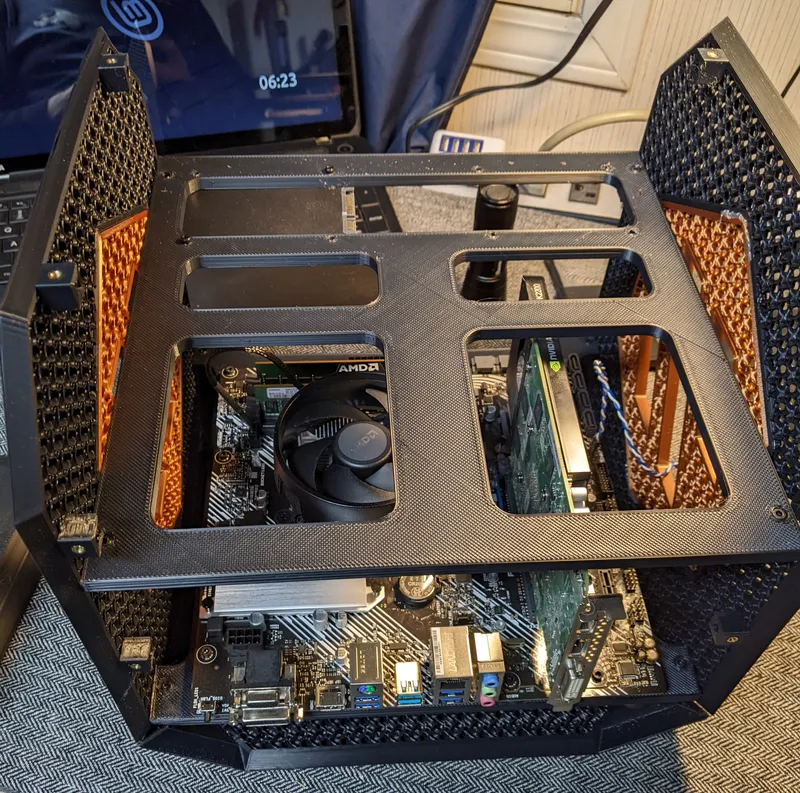
Install the back panel with the I/O shield using 4 M3 x 10 screws. Attach the power supply to the back panel and attach all wiring.
Add the top panel using 6 M3 x 10 screws and then the last step is to put the front panel on with 4 M3 x 10 screws
Tags
Model origin
The author marked this model as their own original creation.

