Anti-vibration feet for Prusa MK3/S/S+, MK4 and Prusa Mini/+

Description
PDFMy MK3 printer stands on an Ikea Lack table, which is an excellent amplifier for the vibrations of the printer. So I designed these feet, and they do a good job without making the printer too wobbly. A low profile version and a small profile version are also available. Also a version for Mini / Mini+ is available. The original feet can remain mounted.
For Ender 3 and other printers with V-Solt 4040 profiles, pleas use my Ender 3 feet.
NEW: Printfiles for MK4 included. The Model for MK3 is also working for MK4.
For the Mini i designed a new foot: mini_foot2.stl (replacing the mini_foot.stl).
This foot does not rest on the Mini's case. The forces are introduced directly into the aluminum profile as torsion. In this way, a weight shift no longer has such a strong effect on the Z-axis and thus on the X-axis. However, an influence cannot be completely avoided. I now measure a movement of 0.15 mm at the end of the X-axis when I lift the printer by the profiles.
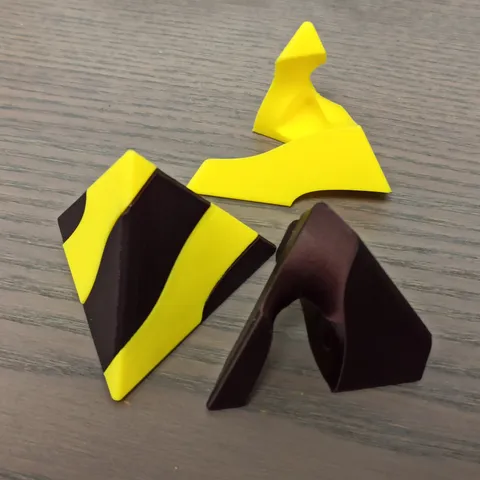
I cannot judge how well this foot dampens the vibrations and whether it has a positive effect on the print result. Try it yourself. (Pictures are showing a older version)
Here is a link to my Dial Gauge Holder, in case you want to measure by yourselfe.
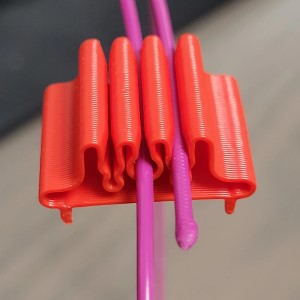
If you are worried about the printer slipping with these feet, use the files with "slipprotection". With these, you can clamp a piece of rubber you cut from a bicycle inner tube directly into the feet. But of course it can also be an advantage that the printer slips easily. This way, the printer can be easily rotated in a housing.
Related Models, if you can't get a bicycle inner tube:
tpu-piece-for-antivibration-feet
TPU Insert for Anti-vibration feet
To all those who think that the printer has stronger ringing (or ghosting) with the feet: The opposite seems to be the case, as Tom Sanladerer has found out. Here is a link to his video about ringing: https://www.youtube.com/watch?v=EWxpN_Sw5Pg&t=310s Many thanks to Tom.
Please take also a look at my Nozzle Holder for E3D V6 nozzles, used by Mini and MK3!
Please test my new filament clip. Or don't you use filament?
Print instructions
If you are not familiar with the settings of Prusaslicer, just use the provided gcode files. There is no easier way.
This design is solid so you can determine the thickness of the feet by the number of shells in your slicer.
I recommend 3 Shells (for 0.4 nozzle), no infill, no top layers, no bottom layers, Seam position Random, laying on the side. I prefer PETG, but PLA is also working, but a bit stiffer. ASA would also be a good choice.
For the Mini, print 3 standard feet, and the “mini” foot for the power supply. I recommend to use 4 shells for this mini foot, because this foot carries the most weight. Take a look at the picture with the yellow foot regarding cable management. You can also unplug the cable and pass it through the foot.
Instead of the mini_foot you can print the new mini_foot2. It has to be printed separately (with infill and bottom/ top layers). You can leave all print parameters on default. Only the number of shells I would set to 3.
Inserting the rubber

Simply press, as shown in the picture, to open the narrow slot slightly. Now the rubber can be pushed into the slot.
And last, please do not forget:
If you like this model, please click "like", and post a make. This will help me to win some prusameters, and help other makers decide if this is a useful model. Thanks.
Tags
Model origin
The author marked this model as their own original creation.