Beacon Ventilation Knob for Core One
Description
PDFDid you forget to open the ventilation for PLA? Or to close it for ASA? With this handy beacon knob, you can check its status from far away!
Printing instructions:
- 0.2mm STRUCTURAL print settings
- 3 perimeters
- base is printed with supports
Deburr any elephant foot (if present) from the knob and cold indicator, and clean any imperfections from the cold indicator to ensure smooth operation.
Clean the support from the base and ensure that the supported surface is flat. It won't be visible, so it doesn't need to be perfect.
Update 25.3.2025:
The base has been updated for a tight fit with zero clearance to the acrylic plate cuts. It should work when printed in PLA. The original base with a 0.1mm clearance is available in the alternative parts folder.
Assembly guide:
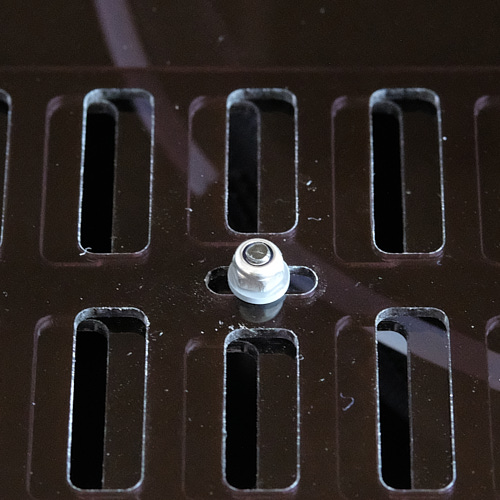 | Flip the middle screw upside down, keeping the nylon washer on top. Do not overtighten. Leave it as loose as it was originally. |
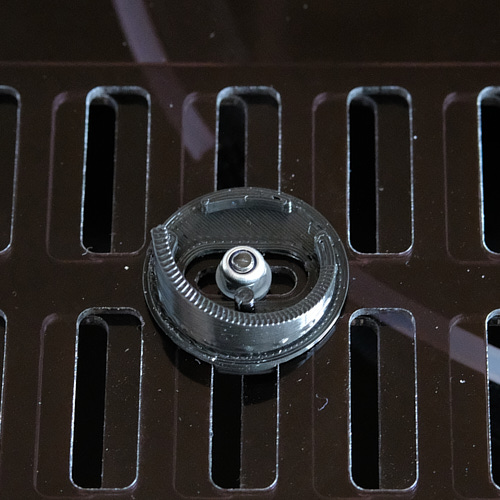 | Place the base over the nut, ensuring it fits into the notches in the acrylic sheet. Check that the nut moves freely when opening and closing the ventilation. |
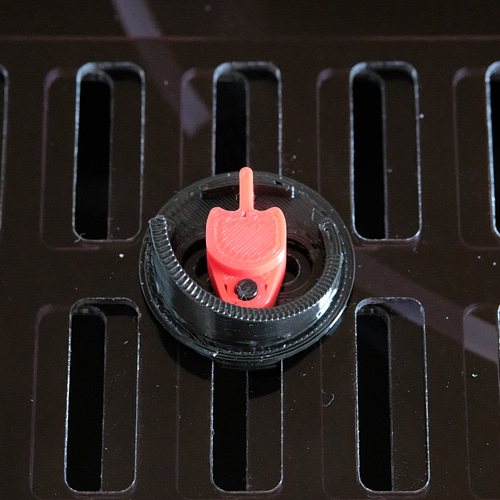 | Place the lever onto the shaft extending from the base, ensuring it fits over the nut. It should rotate freely on the shaft. |
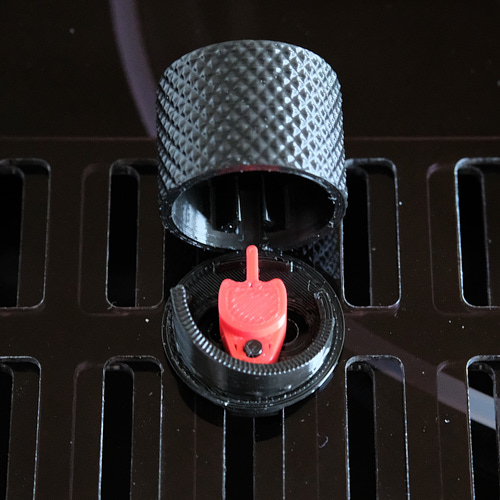 | Align the notch inside the knob with the lever for proper positioning. |
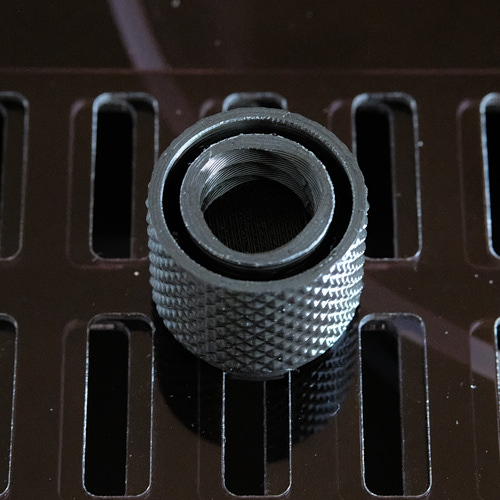 | Press the knob onto the base until it snaps into place. It should rotate freely on the base when opening and closing the ventilation. |
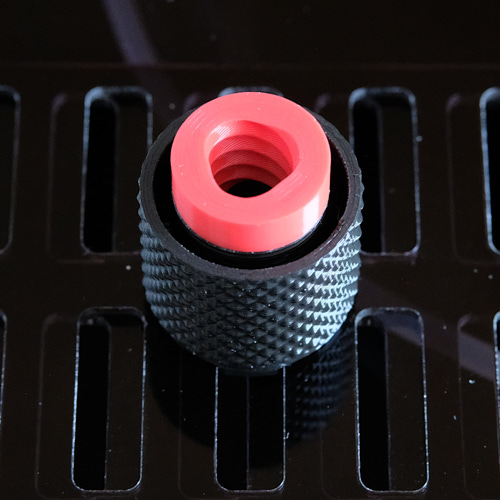 | Screw in the hot indicator securely. |
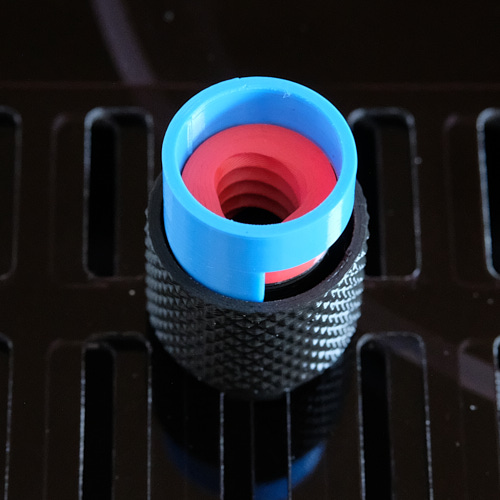 | Insert the cold indicator. When the grill is half open, the tallest side of the cold indicator should face you. |
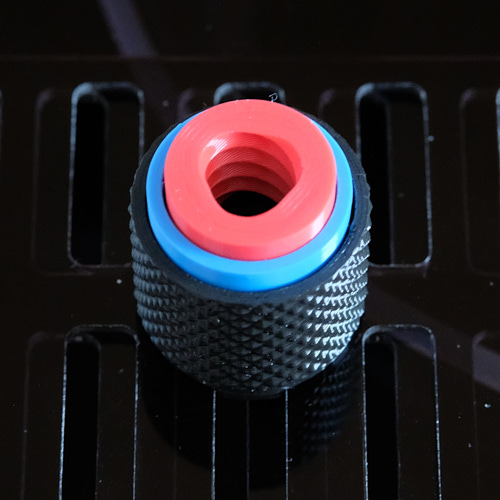 | The cold indicator should slide in easily and move up and down as you rotate the knob. |
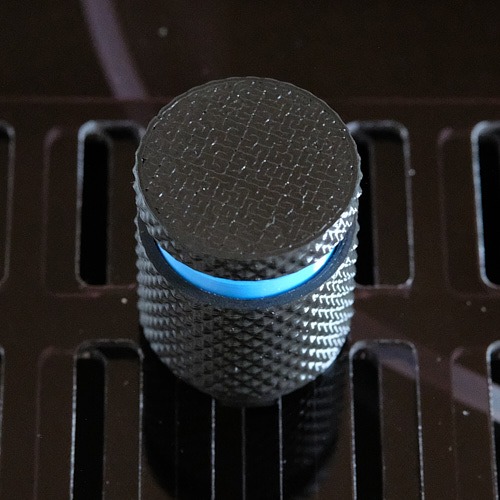 | Screw the cover on securely. |
It should work fine as is. If you find it wobbly, use thin double-sided tape to attach the base to the acrylic sheet.
If the hot indicator or the cover is unscrewing, secure it with a drop of CA glue on the threads.
Tags
Model origin
The author marked this model as their own original creation.

