CYBVRSHAPE Meta Quest 3 & 3S Table Tennis Adapter

Description
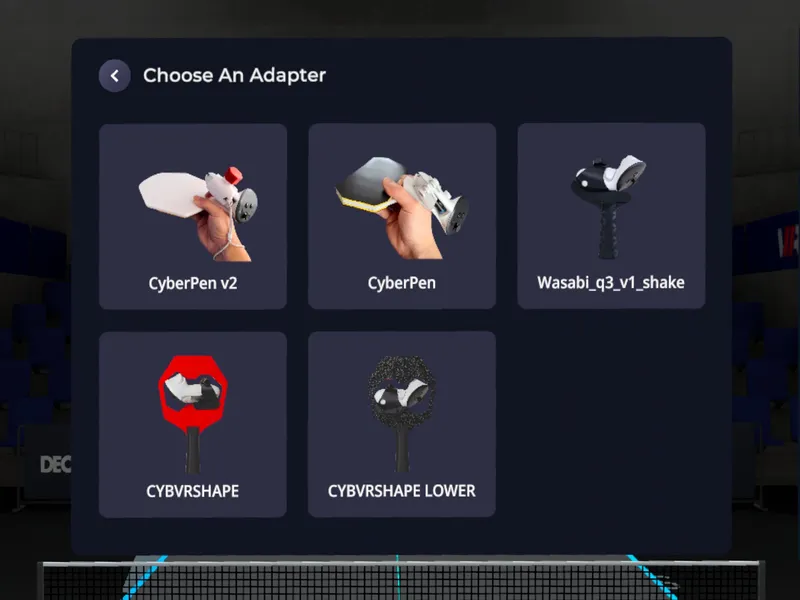
PDFPresenting the BonWasy CYBVRSHAPE table tennis adapter for Meta Quest 3 & 3S, modeled after the Stiga Cybershape paddle and the BonWasy ProTTed adapter.
This is the most realistic feeling full sized 3D printable adapter available, free and easy to print! It is comprised of three parts- the blade, the handle, and the connector, plus a bit of hardware. Weight of the adapter and hardware is around 75g. Add the Meta Q3 controller (without battery cover, it needs to be removed for installation) and it lands at about 170g. Depending on whether you use AA or AAA battery, the final weight will be 180g-190g.
The only hardware you will need is one M3 thumbscrew, two M3x12 screws, and three M3 nuts (or if you don’t ever take your adapter off, just use three M3 screws and three M3 nuts). Everything else is fully 3D printable.
Two blade options are available- one with the controller centered in the paddle (Cybvrblade.stl) and another with the controller 1cm lower for a lower center of gravity (Cybvrblade-3.5cm.stl). Three handle shapes are available, in both smooth and wood grained finishes for extra grip- anatomic, flared, and straight. Connect the controller to the blade with the included BonWasy-Kaiha connector, available in both right-handed and left-handed versions. A rubber cutting template is included as well if you’d like to add rubbers for a more real-life feel.
RECOMMENDED PRINT SETTINGS:
Use the pre-sliced .3mf file (sorry, the blade doesn’t fit on Bambu A1 Mini) or use the following print settings:
BLADE:
2 walls, 5% cross-hatch or gyroid infill (for better top surface quality, add a height range modifier from 4.6mm-6.2mm with 10% infill to give the top surface more foundation to print on). Add a filament color swap halfway up the blade to make it 2 colors, no AMS or MMU necessary unless you have one). Also recommended to slow down top surface speed to 100mm/s for smooth finish.
HANDLE:
2 walls, 5% cross-hatch or gyroid infill (infill can be raised as needed to make the adapter less head heavy, up to you). Check “Only one wall on first layer” in your slicer for a nice logo on the bottom of the handle! Slow down outer walls to 100mm/s for the smooth handles if you want a nicer finish.
BONWASY KAIHA CONNECTOR REMIX:
2 walls, 5% cross-hatch or gyroid infill. If you don’t mind more weight, make it 3 or more walls.
All of these parts can be printed with more walls or infill if you like a heavier paddle, but I would not recommend lowering anything below 2 walls and 5% infill, so the adapter remains strong.
ASSEMBLY:
Once everything is printed, first do a dry-fit to make sure everything fits together nicely. Slide the blade into the handle- there are grooves to make sure they align correctly. The blade should slide all the way down into the handle. If it’s too tight of a fit, use a deburring tool to shave a tiny bit off of some of the edges as highlighted in this image:

Once you know it fits, you will need some CA / superglue (I recommend 3D Gloop- it chemically bonds PLA to itself, and makes a VERY strong permanent bond https://www.3dgloop.com/shop/pla-gloop ). Apply generously into the cavity of the handle using a toothpick, bamboo skewer, or something similar. Be generous with the glue! You don’t want the blade flying out of the handle. After applying the glue, push the blade down all the way into the handle and let it dry for a bit. MAKE SURE IT'S FULLY DRY and secure before using! I take no responsibility for a broken controller due to poor assembly. NOTE: The stem should be snug inside the handle- if it is not, try printing the handle with X-Y hole compensation set to -0.1 or -0.2 for a tighter fit (especially with the wood grain handles).
Next, place the Kaiha connector onto the blade, lining up the holes for the screws. Attach with two M3x12 screws and secure with two M3 nuts. Hand tighten, but don’t over-tighten!
Once that’s on, you’ll need to remove the battery cover from your Meta Quest 3 controller. Then slightly pry the top of the connector open and slide the controller into it as shown in the listing photos. There will be a slight click thanks to a piece that clicks into the battery compartment. Add the M3 thumbscrew and M3 nut to secure the controller into place (DO NOT over tighten- finger tight is perfect).
Now that it’s assembled, you’re ready to play! All you need to do is apply the position preset:
EDIT Feb 6, 2025- CYBVRSHAPE and CYBVRSHAPE LOWER presets are now built into the game! Go to PADDLES > POSITION > and select NEW POSITION then select either CYBVRSHAPE or CYBVRSHAPE LOWER depending on which one you printed (they're at the bottom of the list). If for some reason that doesn't work for you, you can try cloud code 646125.26 as well.
Huge thanks to Bonsaizocker (https://www.youtube.com/@elevengermany) and Wasyl00 (https://www.printables.com/@wasyl00_71565) for their original adapter designs, Kaiha (https://www.etsy.com/shop/KHStudioJapan) for his BonWasy remix, SolidSlime (https://vrpingpong.net) for his wood grained handles, and Xeiter (https://ozettadapters.com) for his help and advice in creating this.
The 11VR community is incredible, and I wanted to give something back in appreciation- so I give you all the CYBVRSHAPE adapter- I hope you enjoy it, and have fun playing! Feel free to reach out to me with any questions or recommendations for a version 2.
Side note: I'm a commercial photo retoucher and photographer in NYC for the past 25+ years, please check out my work at https://nakleh.com
Tags
Model origin
The author marked this model as their own original creation.


