Splitbox, the Splittable Fighting Game Controller & Arcade Stick (Leverless/Stickless & Joystick Modular Fightstick)


Descripción
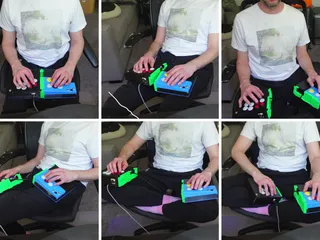
PDFThis is the splitbox, a fighting game controller designed with ergonomics and portability in mind!
ERGONOMICS
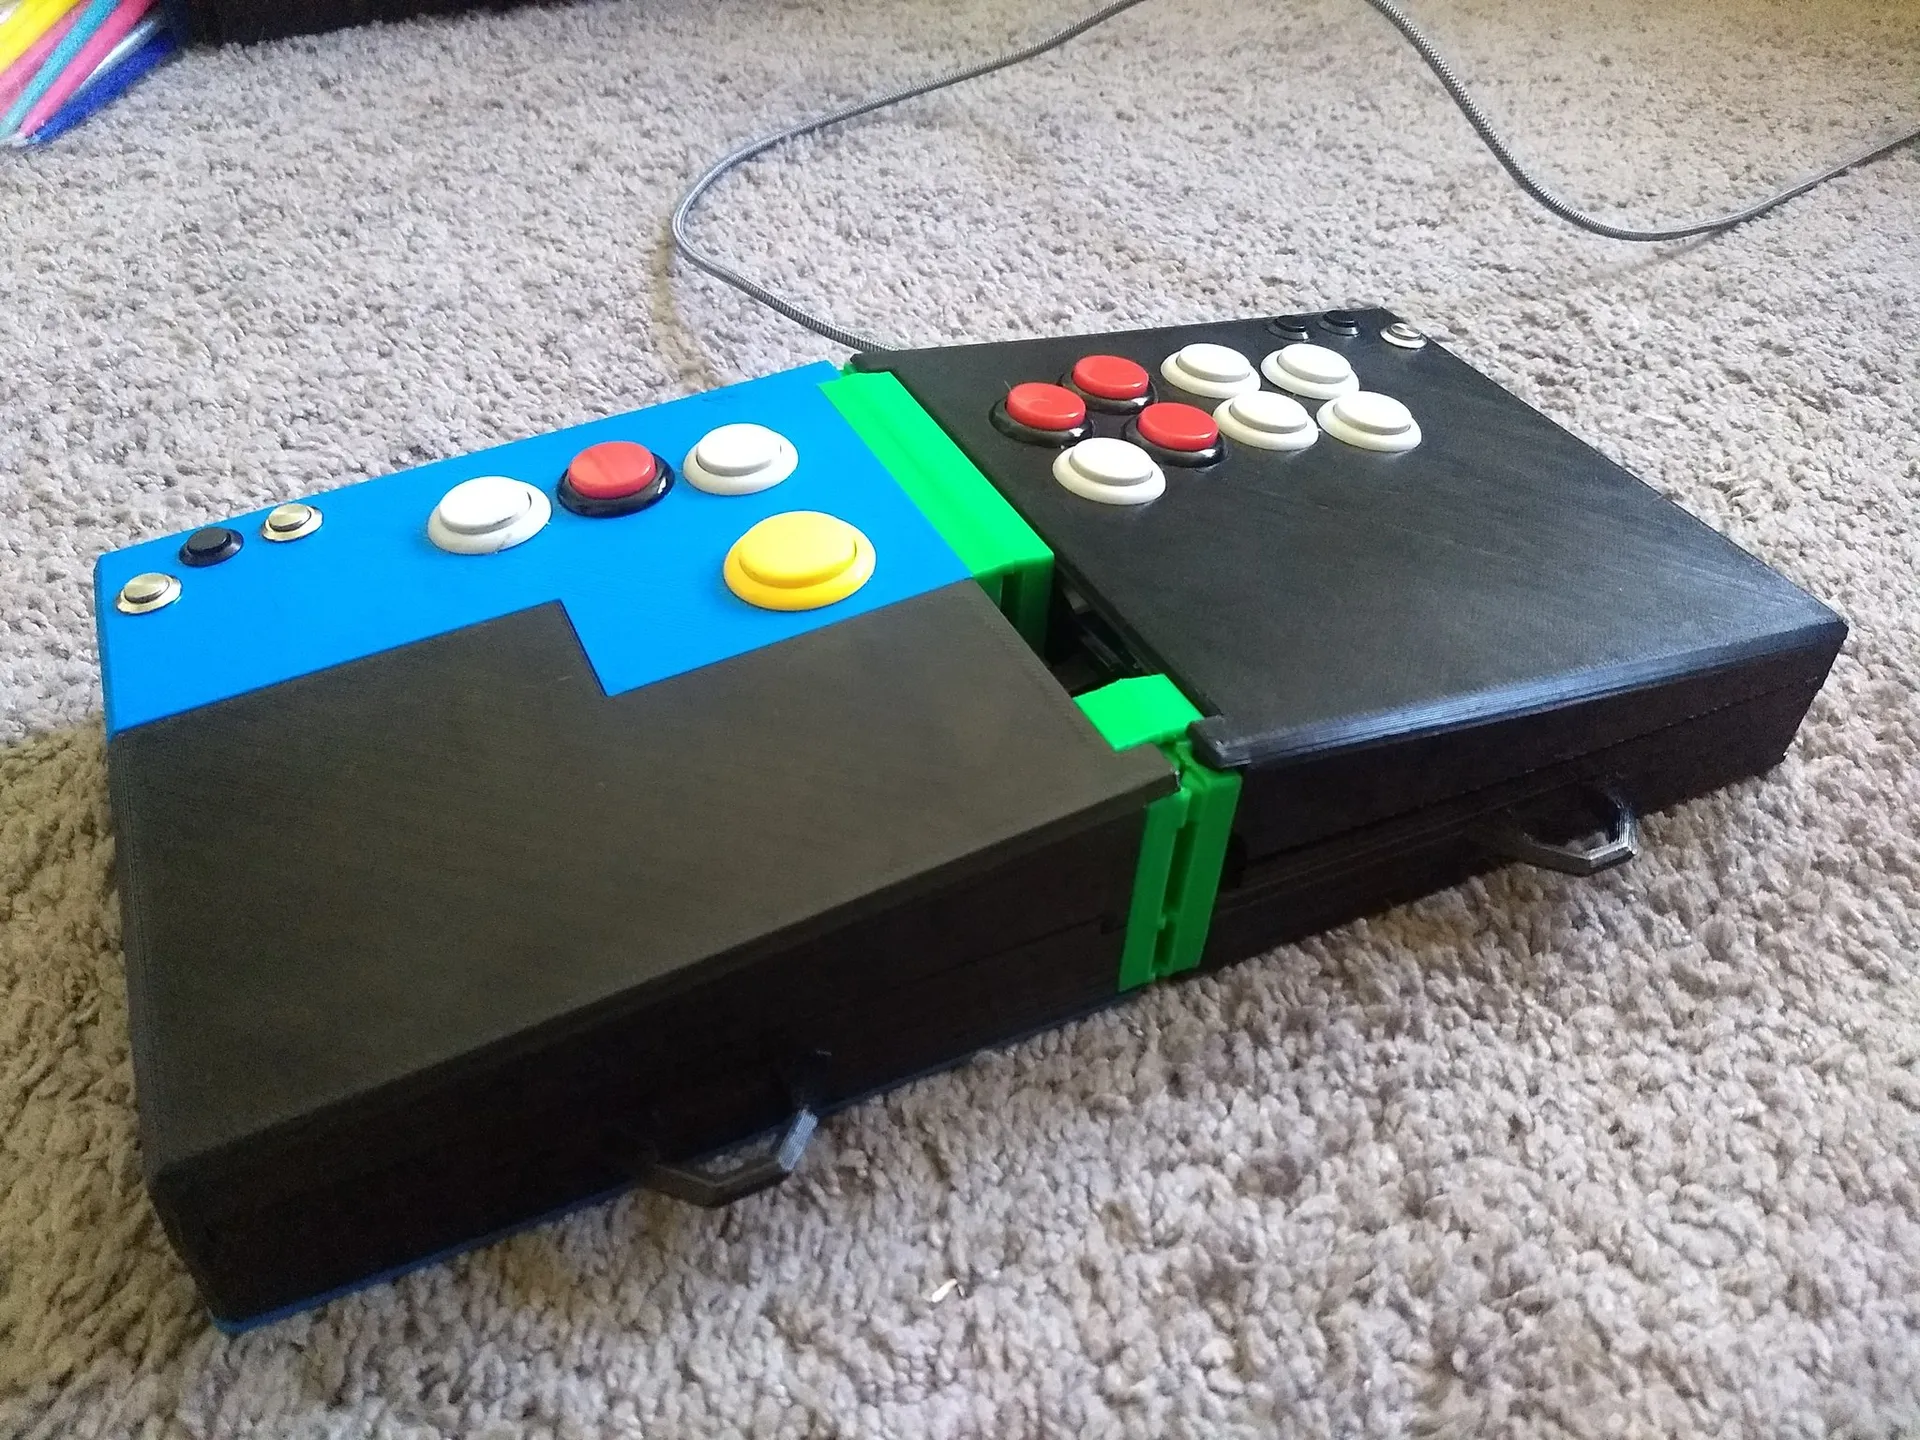
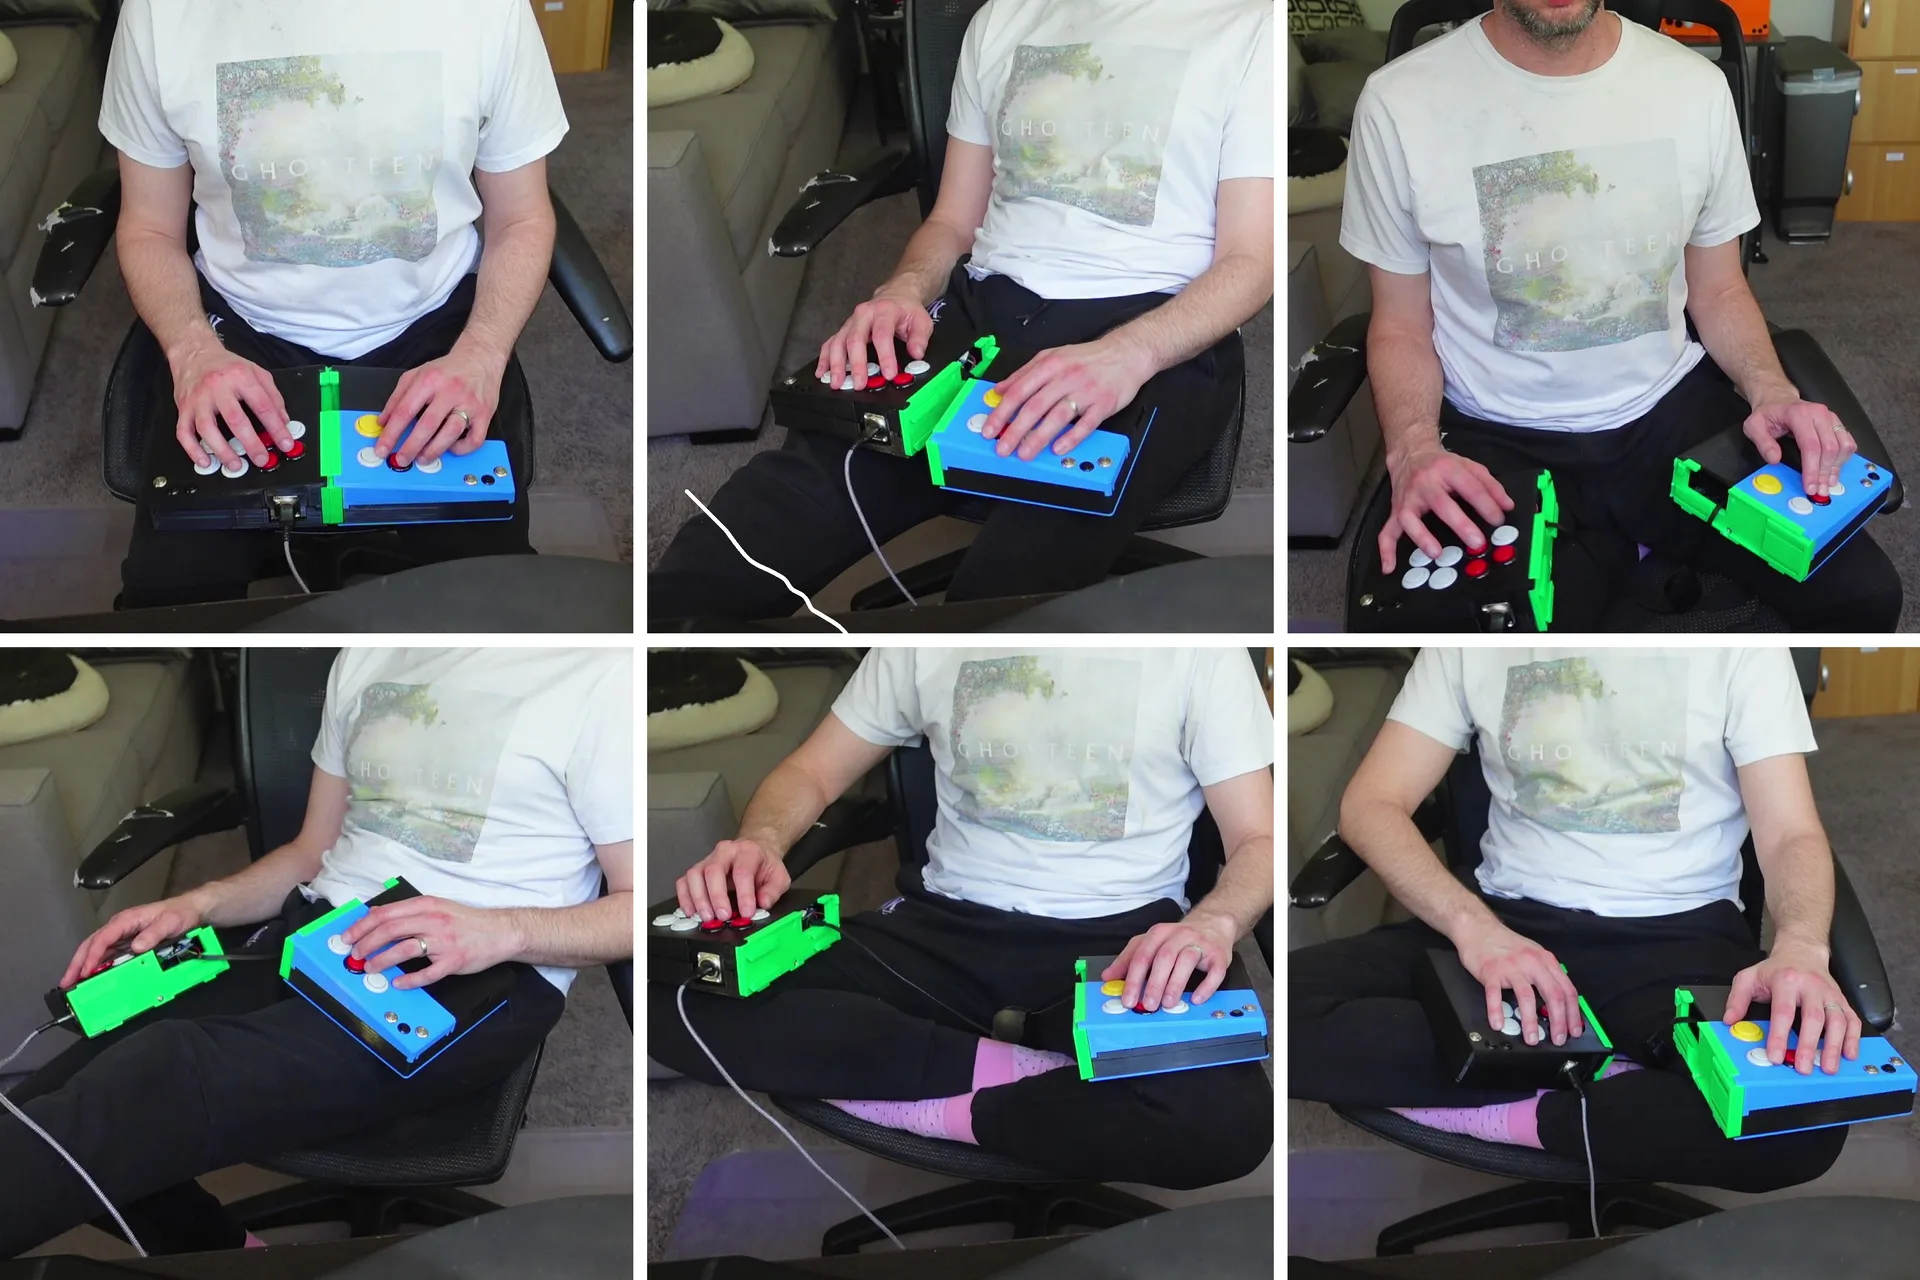
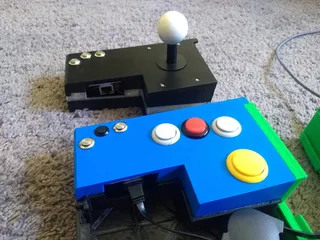
The angles of the top pieces and the buttons are intended to let you keep your hands, wrists, and arms in safer positions and the two halves can be easily and quickly separated from each other so that you can play in whatever position feels best for you. A sliding mechanism keeps the halves together when you want and an RJ45/ethernet cable keeps the electronics connected. The base pieces feature hooks for shoulder straps so that you can even play standing up if you wish. You can choose whether to use a leverless all-button build or a stick, and you can easily swap between the two if you want by just disconnecting the piece’s cable, snapping the piece out, and replacing it with the other one.
PORTABILITY
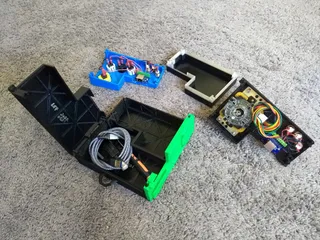
The space under the left top front piece has plenty of room for the RJ45 cable, a USB cable, and a small screwdriver so you can keep it all together during transport. Connecting a shoulder strap makes carrying the splitbox around a breeze. And by separating the halves, you can easily find space in your suitcase to travel with it. I’ve taken my most recent build on 6 flights, 5 subway rides, 4 bus rides, and countless trips to my local tournament venue and friends’ houses, and it’s held up perfectly through all of it. If you want to carry around both all-button and joystick variations of the left top back piece, you can also print a cover for whichever one you’re not using so that you can carry it around without having to worry about its wiring. The backs and sides are also purposely kept as flat as possible so that the splitbox can be set down easily and stay put on any side except the front. You can use the shoulder strap hooks or the hook created by the joined middle pieces to easily carry around the splitbox with just a finger or two as well. A fully built splitbox with all its parts, electronics, and cables weighs only about 1kg/2.2lbs.
COMPLETE PARTS LIST
Here's a list of the parts I'm using in my own current build. You can buy lots of these on Amazon, but please consider buying them from small business arcade part suppliers like Arcade Shock, Paradise Arcade Shop, Focus Attack, and more:
- Main PCB (1): Brook UFB
- PCB attachment (1): UFB-UP5 for PS5 compatibility
- RJ45 breakout boards (2-3): these
- RJ45 connector cable (1): Cable Matters Retractable Ethernet Cable
- D-Series USB mount/gender changer (1): these
- Internal USB cable (1): right angle USB B to A
- External USB cable (1): 6ft USB A to A for home, 10ft USB A to A for travel
- 30mm button (1): Sanwa OBSF30
- 24mm button (11): Sanwa OBSF24
- 12mm button (6): these
- Joystick (1): Sanwa JLF with flat plate
- Shoulder strap (1): this
- Structural screws: M4 10-16mm length
- PCB screws: M2.5 6mm length
The total cost of these parts is about $240 USD. Most of that is in the PCB (about $95) and UP5 PS5 compatibility attachment (about $60). If you don't need to play on a PS5, don't worry about the attachment. For cheaper options that don't work with as many consoles, consider the PS3/PS4/PC Fighting Board Plus ($70) or even the Pico Fighting Board ($30), which doesn't work with as many consoles but in my experience has worked great for playing on my PC.
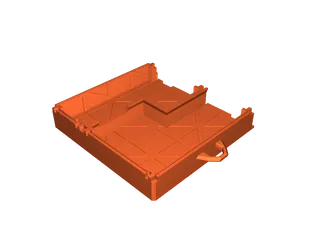
The underside of the right top piece is where the main PCB lives. The right top piece has screw holes designed to fit a Brook UFB, but I’ve used other boards in them too. You can also use some sticky PCB feet to stick whatever you want in there.
The two halves are connected by the RJ45 breakout boards. Each half has screw holes that are designed with the above breakout boards in mind. When wiring, just match the number slots on each breakout board, ie, slot 1 goes to slot 1, slot 2 goes to slot 2, etc. As for the cable, any ethernet cable will work of course, but I really like the retractable cables listed above because they’re space-efficient, can be easily expanded & retracted, and give a slight tug that helps stabilize the separated halves’ positions when they’re on my lap or hanging from my shoulders.
For USB cables, the USB out is just a standard D-series connector panel USB gender changer. I’ve tried several just to make sure, and they all fit just fine. You can find connectors that work with whatever flavor of USB you might want. You’ll also need an internal cable to go from your PCB to the mounted panel. This is designed to fit with a right angle cable of about 10-12” (~25-30cm) in length. I'm using the cable above because the Brook UFB requires a USB B cable, but other PCBs have different requirements; the Pico Fighting Board has a micro USB, so for that I used this cable.
For buttons, any 30mm, 24mm, and 12mm buttons should do. I’ve used both Sanwa OBS-series & Seimitsu PS-14 buttons for the 30mm & 24mms, and both snap-in and screw-in buttons should fit fine. For 12mm buttons, I’ve been using the ones above for about a year and never had problems with them.
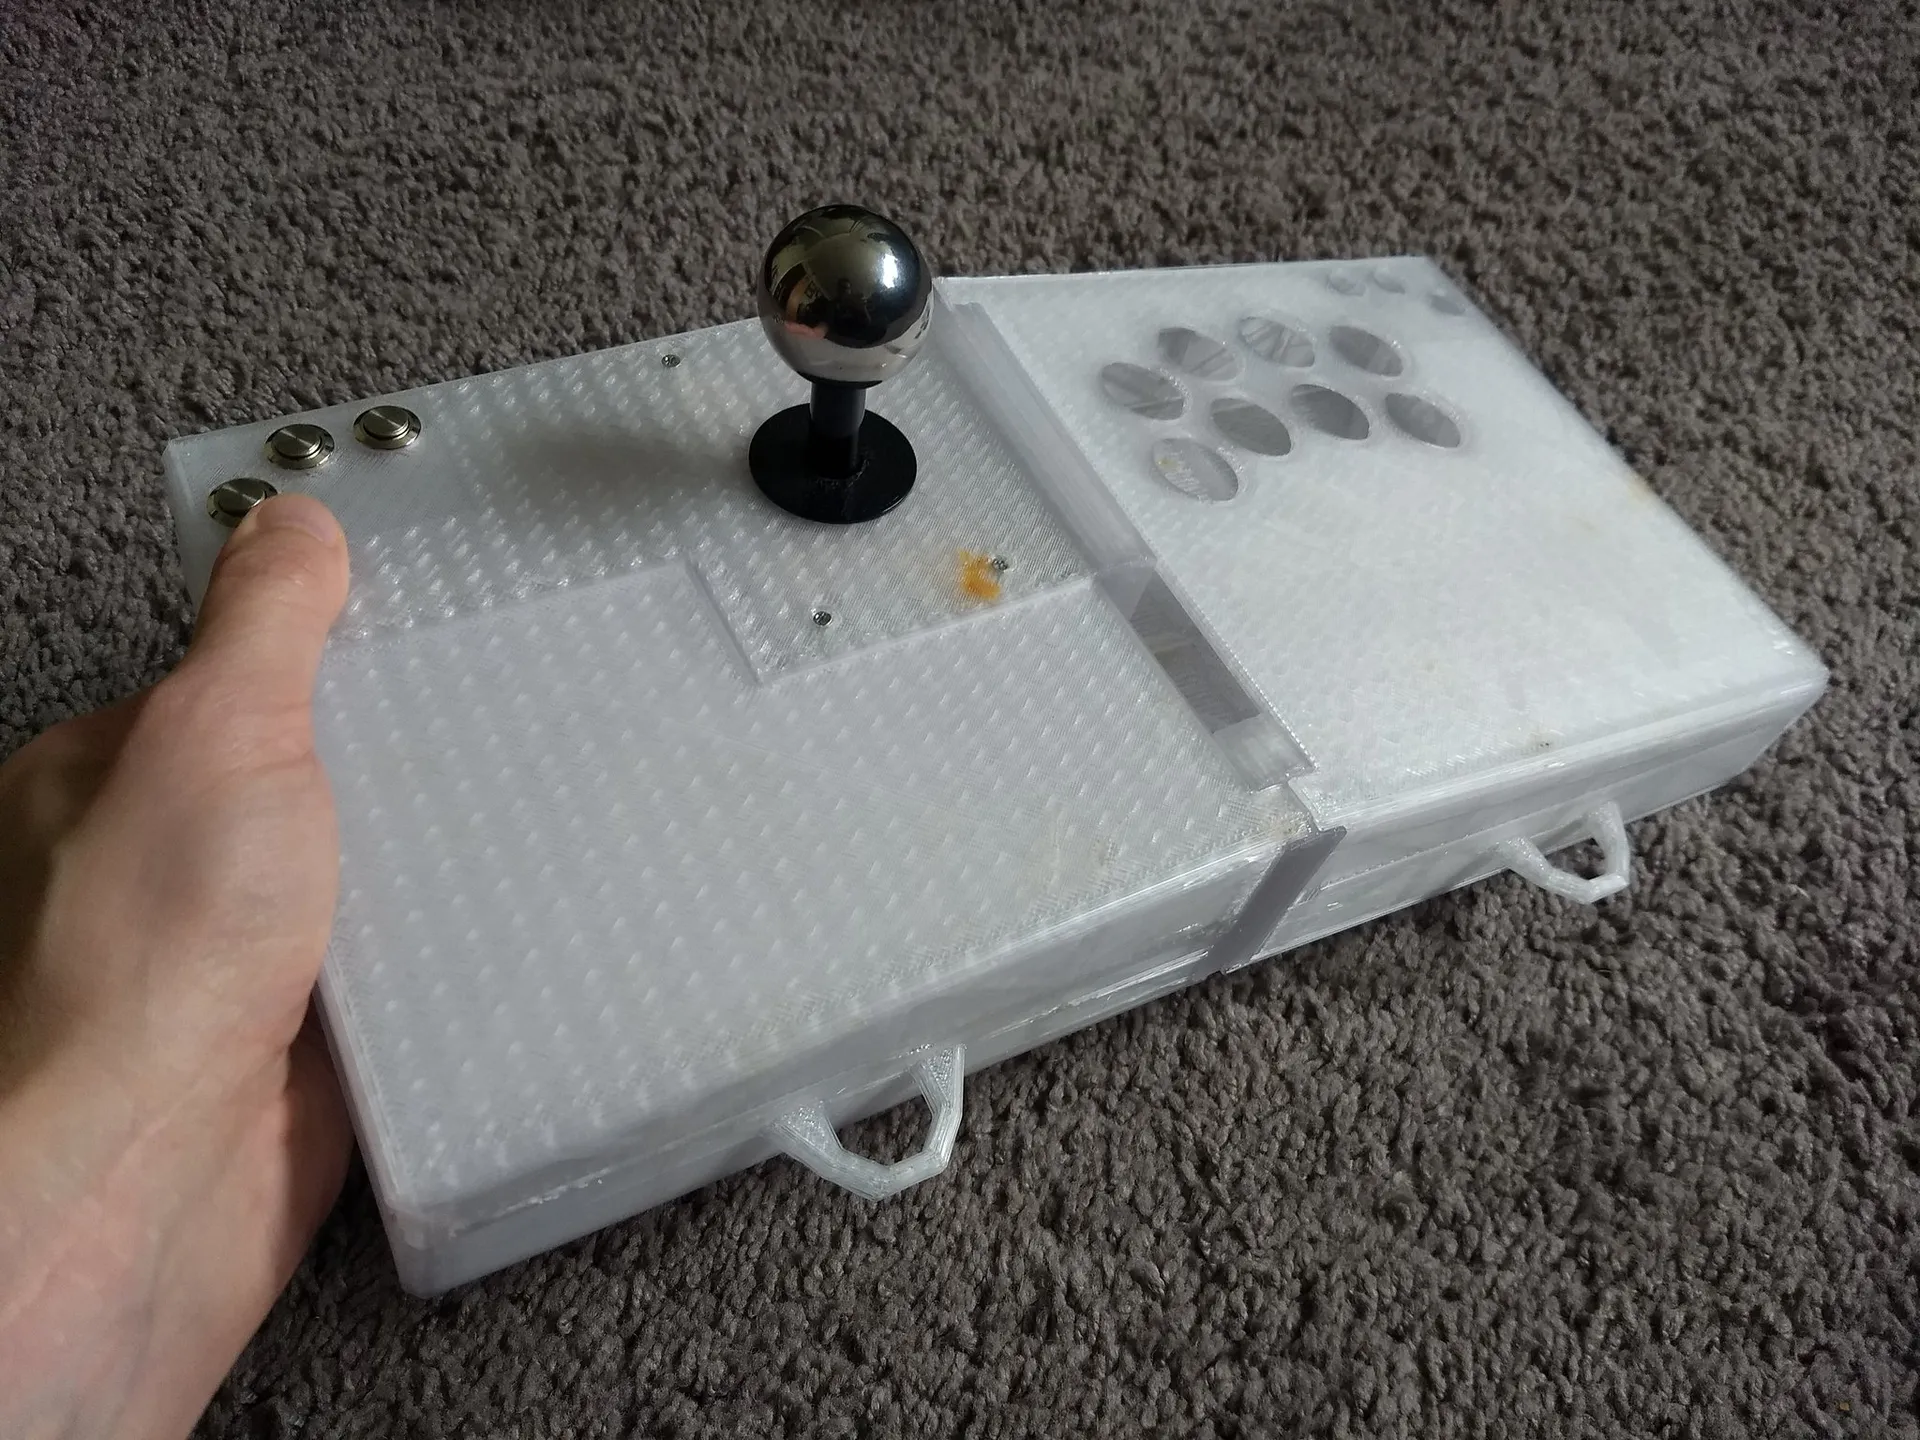
If you want to use a joystick, the screws are designed to work with standard Japanese-style stick mounts. I’ve tried both a classic Sanwa JLF and a Seimitsu LS-32 with flat plates and they both fit fine.
PRINTING
I usually print with PETG on a 0.6mm nozzle. My standard layer heights are 0.36mm, but on the slide portions of the two middle pieces, I lower the layer heights to 0.22 to make sure the slides are precise. I'm not sure if bigger nozzles will be precise enough, I've never tried, but smaller nozzles will work. I tried PLA once and it seemed fine, I’m just a little wary of how well a standard PLA would survive repeated use, abuse, and travel over time.
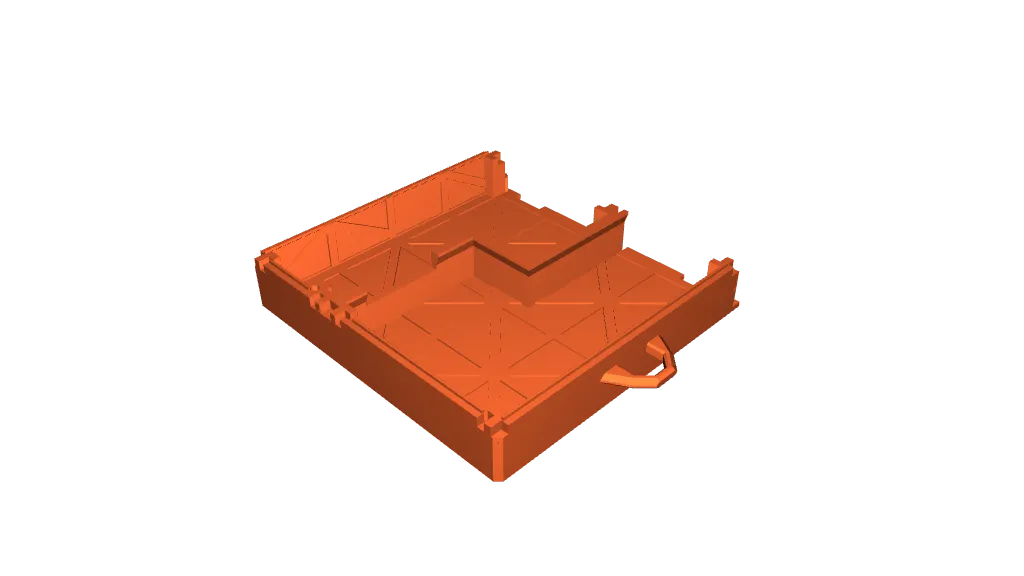
For print orientation, each piece has a flat side that's intended to be your first layer. For the bases, it's their bottoms; for the middle pieces, it's their respective flat sides; for the top pieces, it's their tops. The only areas on any piece that should require support are the hooks on the front of the bases.
Here are the dimensions of each piece based on their intended print orientation (width x depth x height):
- Left base: 176mm x 200mm x 31.5mm (7.87" x 6.93" x 1.24")
- Left base mini: 170mm x 105mm x 30mm (6.69" x 4.13" x 1.18")
- Left middle: 61mm x 180mm x 12.4mm (2.40" x 7.09" x 0.49")
- Left top back buttons: 180mm x 105mm x 34.83mm (7.09" x 4.13" x 1.37")
- Left top back stick: 180mm x 105mm x 34.83mm (7.09" x 4.13" x 1.37")
- Left top front: 180mm x 116mm x 34.83mm (7.09" x 4.57" x 1.37")
- Right base: 176mm x 200mm x 31.5mm (7.87" x 6.93" x 1.24")
- Right middle: 61mm x 180mm x 12.4mm (2.40" x 7.09" x 0.49")
- Right top: 180mm x 180mm x 49.45mm (7.09" x 7.09" x 1.95")
You'll need to print at least 7 pieces: left base, left middle, whichever left top back you want (the leverless or the joystick), left top front, right base, right middle, and right top. You can optionally print both left top back variations and the left base mini to cover the bottom of the left top back you're not using. On my modified Ender 3 V2, the main 7 pieces take about 27 hours and 730g of material to print, and all 9 pieces take about 32 hours and 880g of material, but I'm sure those times can be much faster for fancier machines. Most build plates should be able to print the left middle and right middle pieces next to each other at the same time as well as the left top back and left top front pieces at the same time.
CONSTRUCTION
Many of the pieces are designed with small tolerances of 0.05 to 0.10mm and are made to snap or slide in against each other, so this is pretty dialed in. There are 6 total screw holes for M4-sized screws of 10-16mm length that will help ensure all the pieces stay put, but to be honest I don’t usually bother with them because the snap-in fits are usually tight enough. I just got back from a cross-country trip in which I carried the splitbox in my suitcase on the flights and over my shoulder throughout the weekend, all without screws, and never had a problem.
To put the boxes together, simply slide/snap the middle pieces onto their respective bases and then snap the top pieces onto the base/middle combos. After that, place the right half box slightly in front of the left half box and then slide the two boxes toward each other until they snap into place at the end. It should be a pretty smooth slide and a pretty strong fit once they're together. To separate the two halves, simply push the two boxes in the opposite direction. I usually do this by grabbing the right base's front hook with my right hand, placing my left hand on the back, and pulling/pushing the right half forward with my right hand & left pointer finger while stabilizing the left piece with my left palm & pinky.
Here's a demonstration of how to assemble the splitbox:
EXTRAS
I recommend at least giving a shoulder strap a try to carry this around and to help you keep the halves in place while playing, but that’s up to you.
Sometimes I put non-slip cushioned drawer liners on both the tops for my hands to rest on and on the bottoms to prevent movement and add some cushioning. If you want to use these, any super glue or double-sided tape should affix it well enough, although I’ve found that after several months of daily use, the drawer liners themselves might need to be replaced.
FEEDBACK & UPDATES
If you have any feedback about these designs or make any changes on your own, that’s great! Please let me know what you think and what you change so I can think about rolling it into the main design. You can reach me by email at david@ultradavid.com or on Twitter at @ultradavid. I also intend to keep iterating on the design myself, so be on the lookout for occasional updates.
SAY THANKS
If you like the design, please consider tossing me a few bucks on Paypal by sending it to david@ultradavid.com or by clicking this link!
Etiquetas
Origen del modelo
El autor ha marcado este modelo como su creación original.