Solder Scroll - Ergonomic, Adjustable Solder Tool

Description
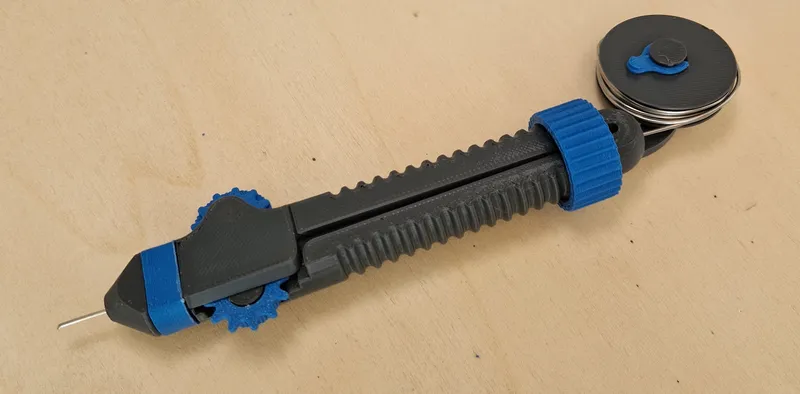
PDFThe Solder Scroll makes soldering more ergonomic by allowing you to just scroll on the pen shaped tool to add solder. By rotating the knob, the tool can be adjusted to accomodate different diameters of soldering wire (0.3 - 1.5mm). A length of soldering wire is stored on the back and can easily be refilled.
All parts are easily printable without support on an FFF/FDM 3D-printer. The assembly requires no glue or metal fasteners.
- Update 5 Oct 2024: Several part versions have been added with additional clearence. If you experience trouble where the rollers don't roll smoothly with the default clearence, printing a version with more clearence could help.
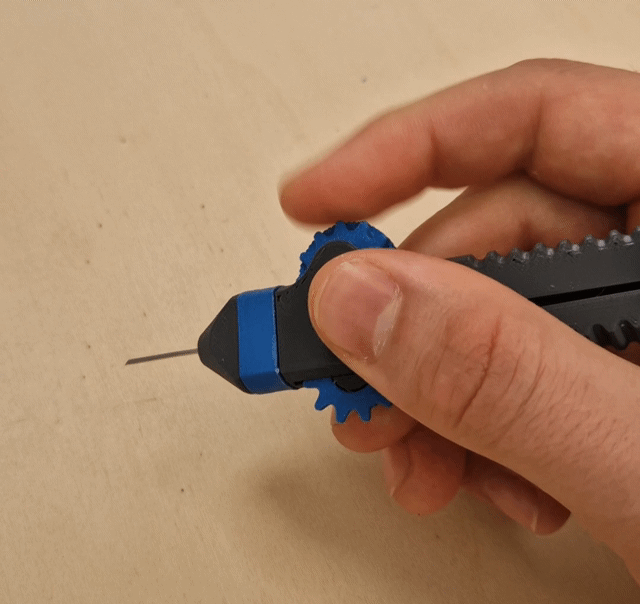
How to use the Solder Scroll
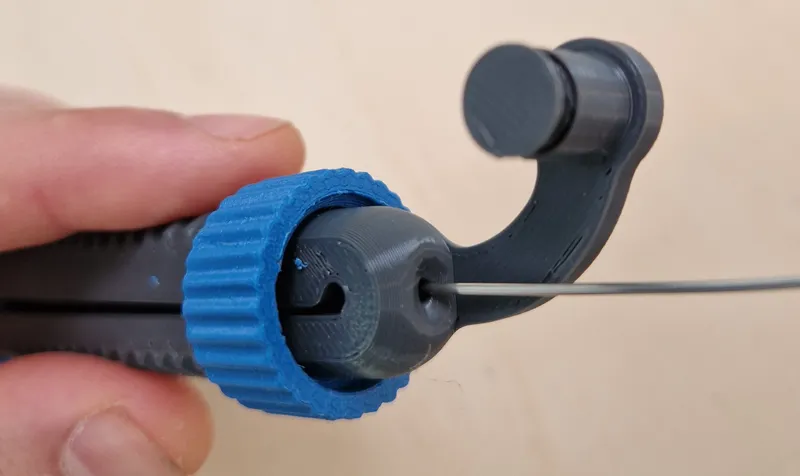
Adjust the tension to the diameter of the solder by rotating the knob. The tension is right when the scroll wheel grips the solder.
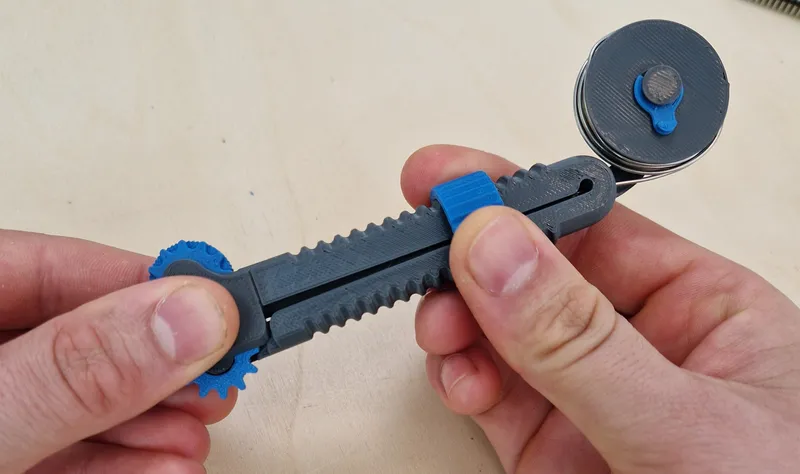
Grip it like a pen in your left or right hand.
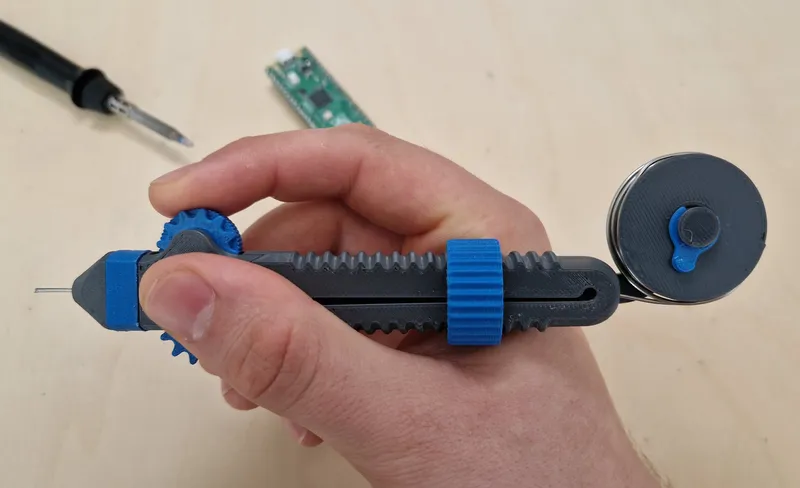
Add solder to your solder joint by rolling the scroll wheel towards you. Adjust the knob if scrolling requires too much force or the solder slips.
How to print, assemble and load solder
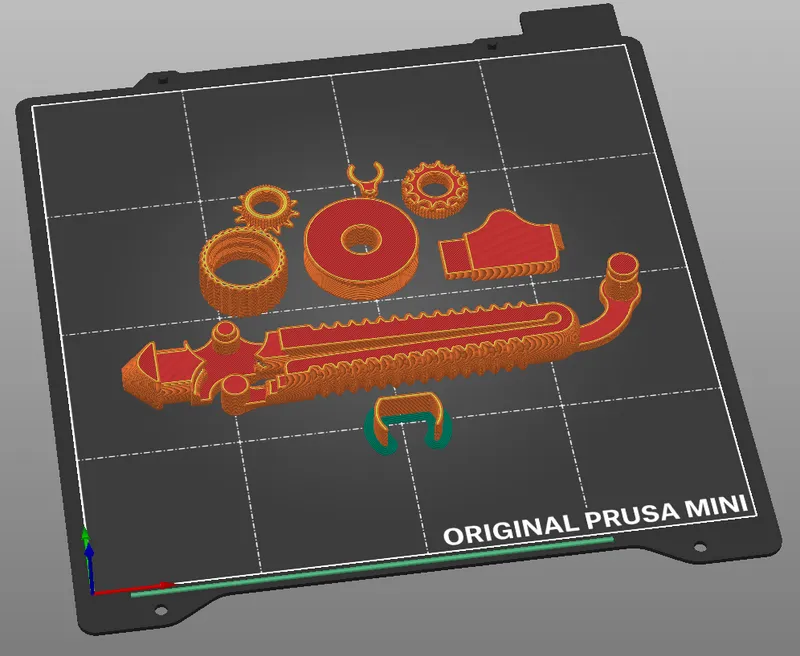
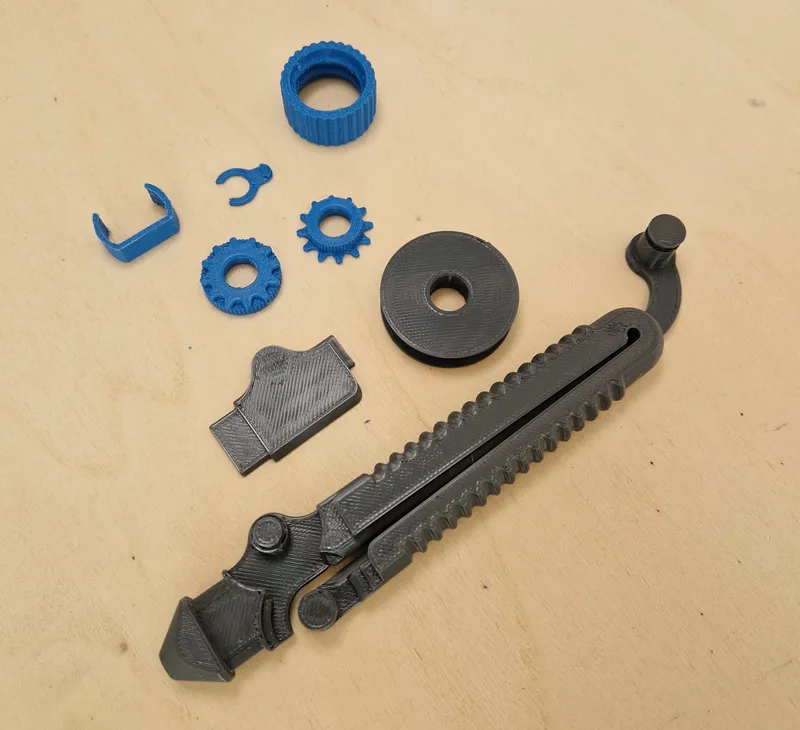
Printing
Print all parts in the orientation shown below. No supports are needed. Adding a brim to the Clip part was nescessary when I printed the parts. I used PLA with 0.2mm layer height and 15% infill.
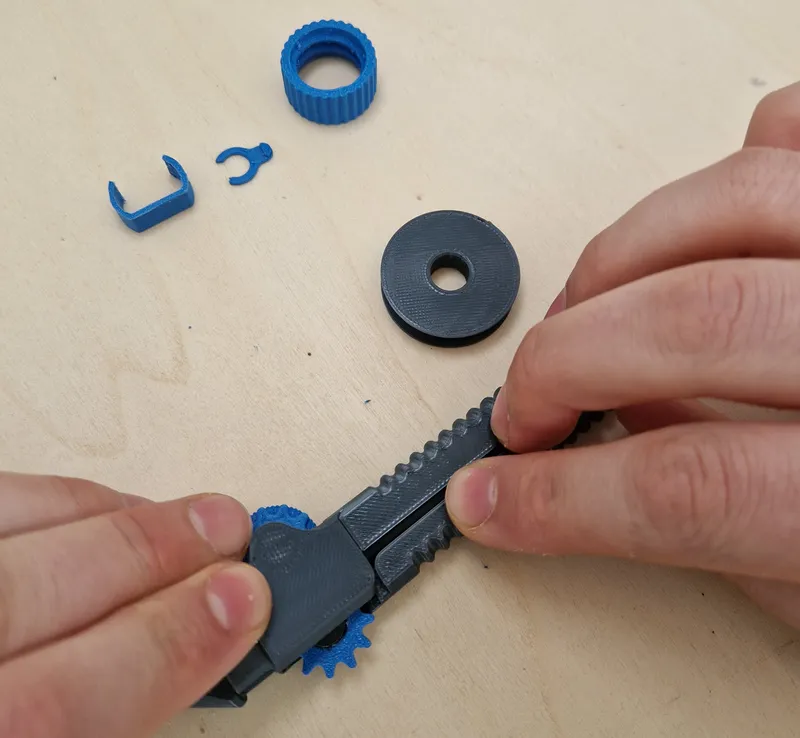
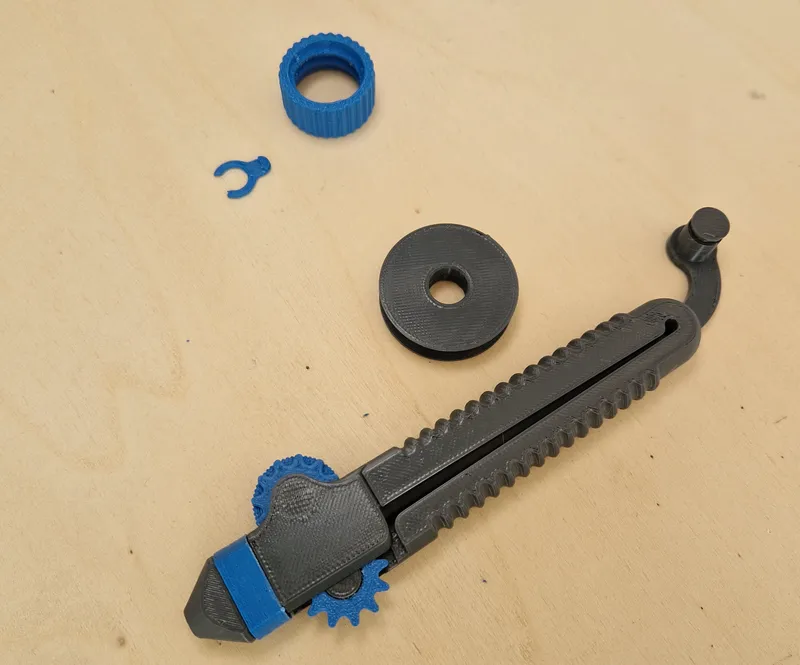
Assembly
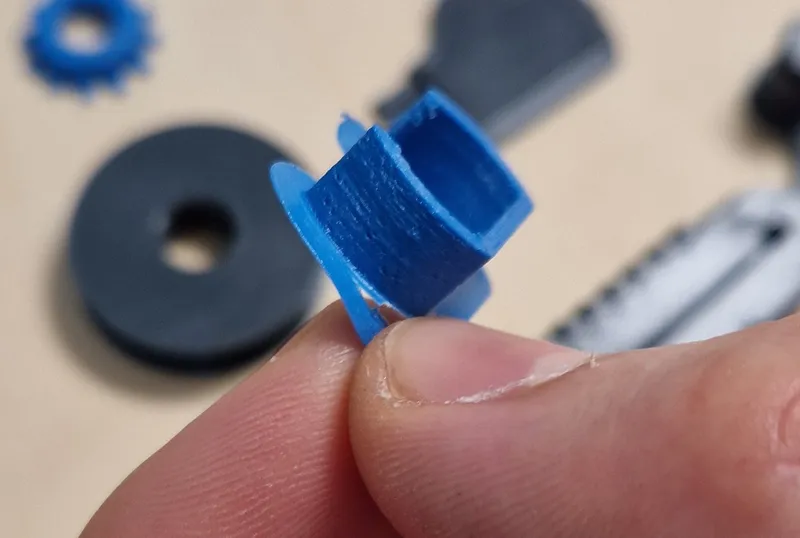
If nescessary, remove the brim from the clip and clean up the seams on the bearing surfaces.
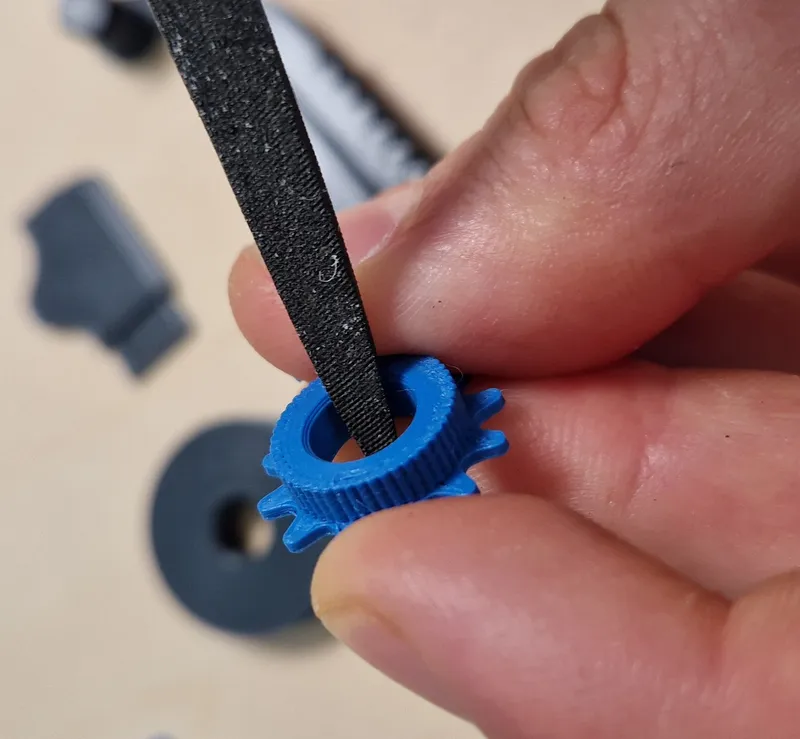
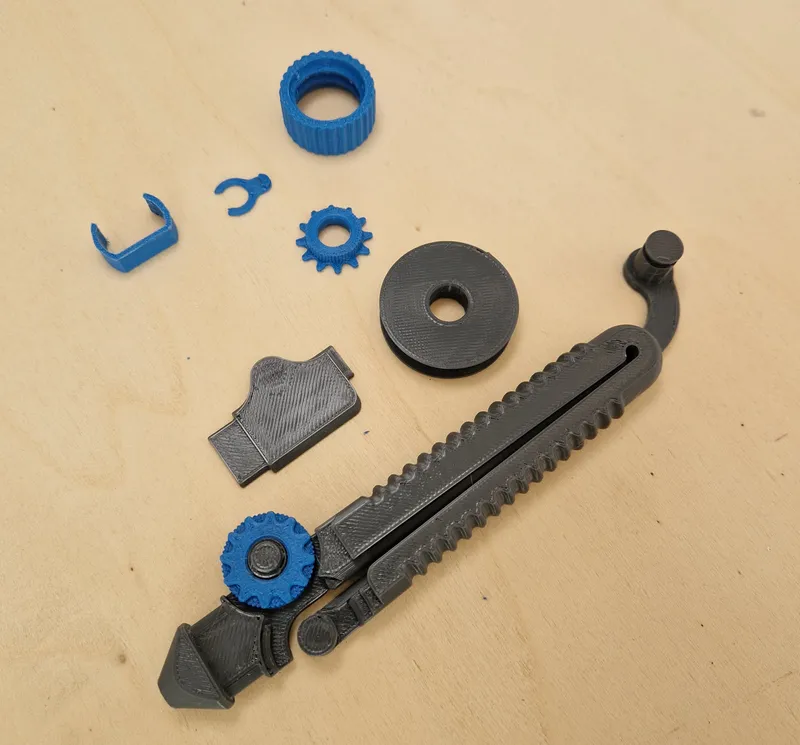
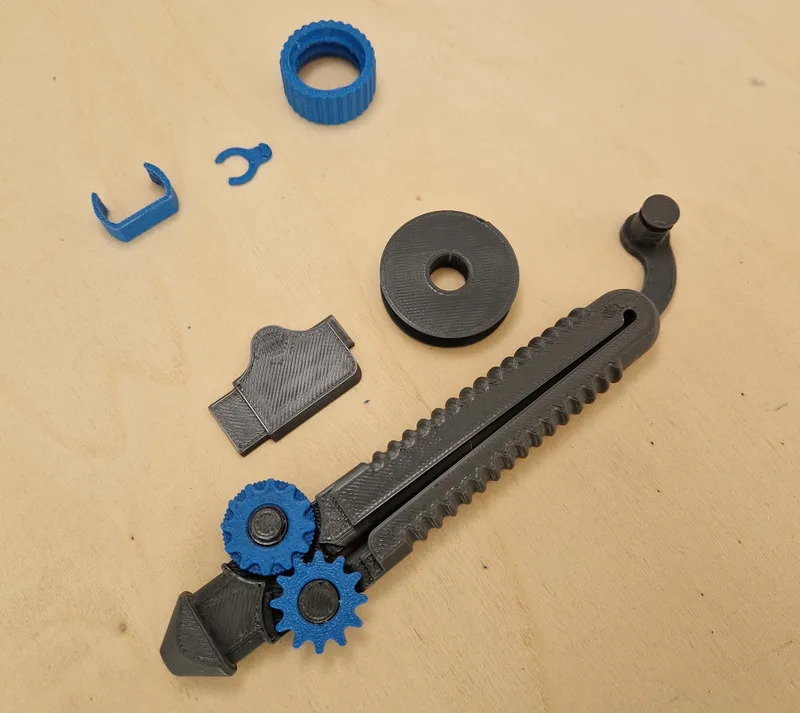
Assemble the wheels on the main body.
Tip: Carefully adding a bit on lubricant on the bearing surfaces will reduce the friction (I used PTFE spray).
Install the cover and add the clip.
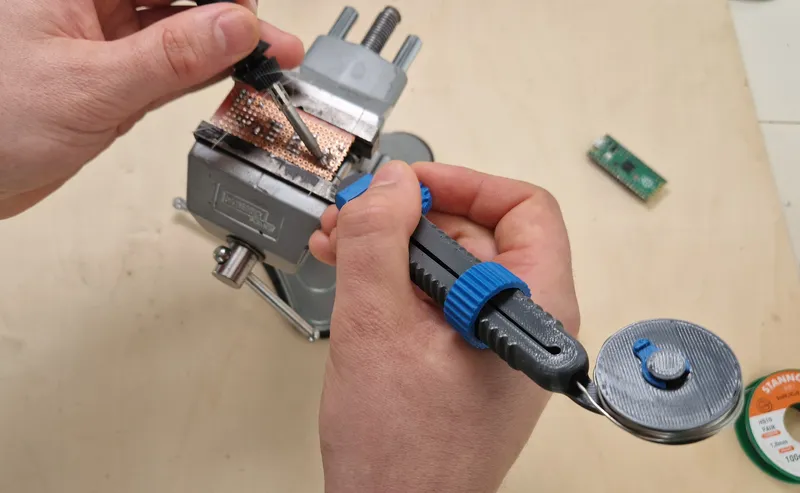
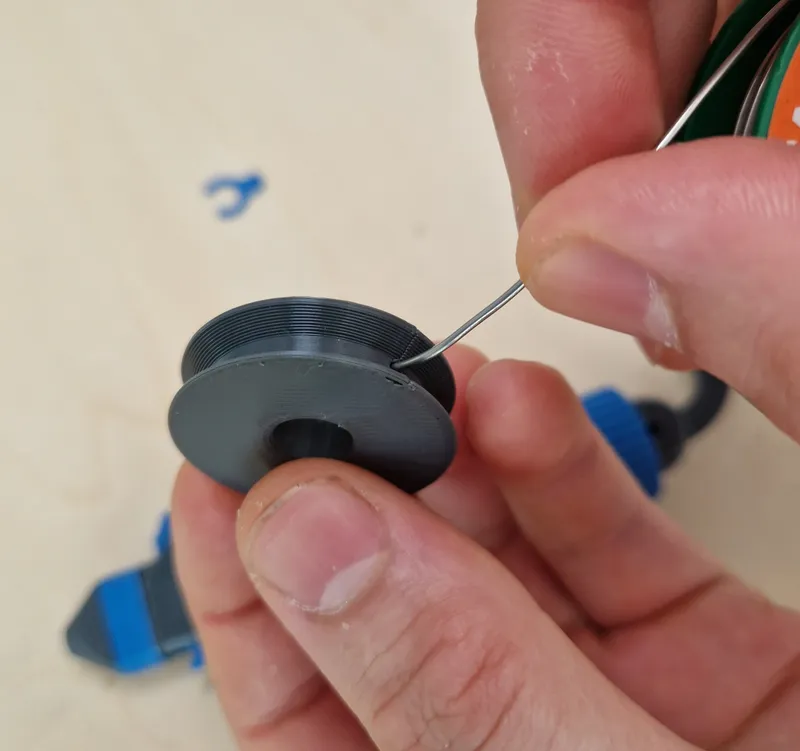
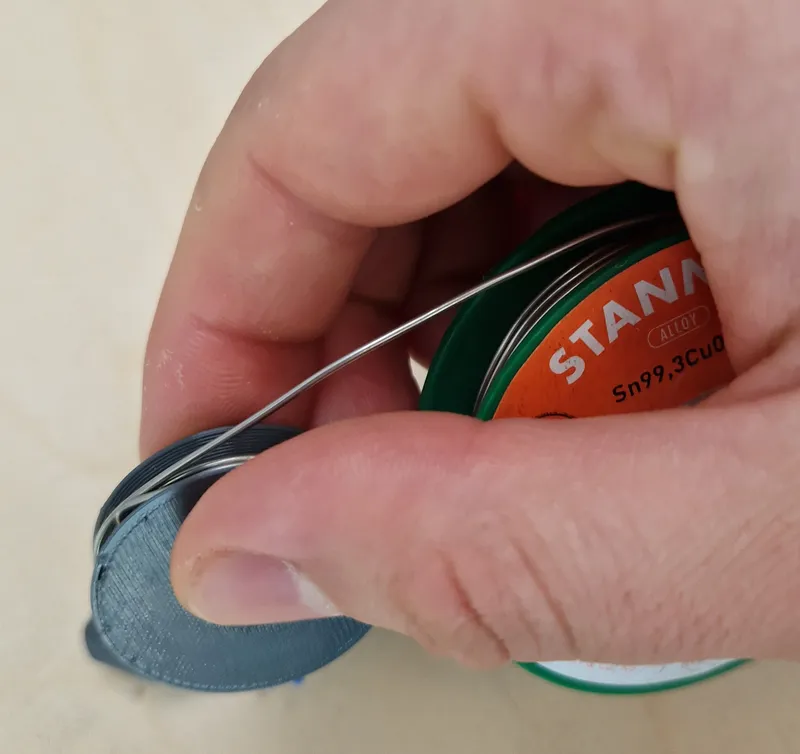
Loading the solder
Stick the end of the solder wire into the hole on the spool and roll some wire on it.
Feed the solder in the back of the main body until it comes out at the tip.
Install the spool and add the clip.
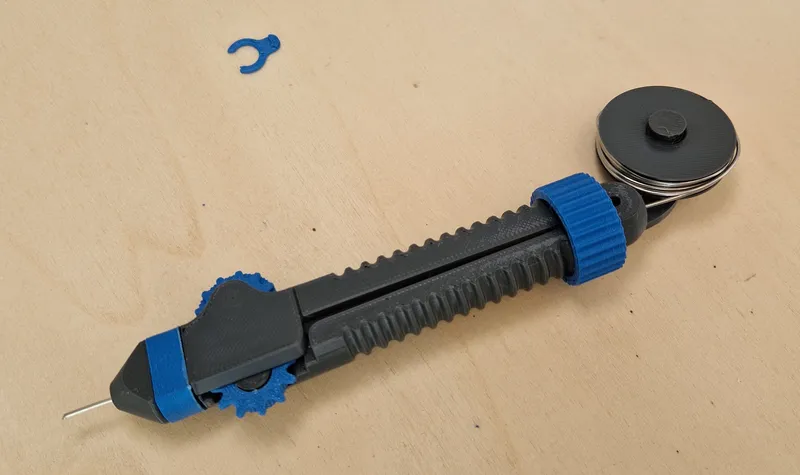
The assembly is done! Scroll up to How to use the Solder Scroll for usage instructions.
I hope you like making and using it. Feel free to give feedback.
Please check the awesome remixes as well!
Tags
Model origin
The author marked this model as their own original creation.