Auto Z and Corner Finding Touchplate for CNC - Remix

Description
PDFThis is a remix of https://www.thingiverse.com/thing:3973801
Background:
I wanted to give this a smaller profile than the original thing. I removed two walls from the square top to make it easier to slip under the router bit. I think it is also easier to attach the aluminum tape to the model without those extra walls.
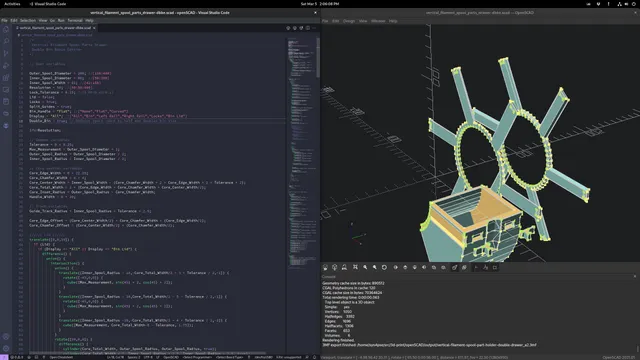
Remixed in OpenSCAD. As you can see, this is merely a bunch of extruded rectangles and squares. I made it a bit thinner as well. Source is included.
I use CNCjs and based this corner finder code on one of its stock macros. Adjustment will involve some trial and error -- don't expect to get the proper values right the first time around. The GCode is attached. I do not expect it to directly port to another application, but you should get the general idea of what is involved.
Instructions:
Print this out in a fine resolution and wrap the X, Y, and Z bounding edges in aluminum tape. Aluminum tape can usually be found in a local hardware store. Try to smooth out any bump as much as possible.
Take as accurate a measurement as you can of the wall thicknesses and try to estimate the thickness of the aluminum tape.
The script I provided here can be used in CNCjs. Also look at the script provided by the author at the original project. There are also other variations of this basic script floating around to base a new macro on.
Place the finished print on the stock and run the script to automatically configure your working zero (x, y, z) coordinates. It will take some trial and error and some changes to the variables in the provided macro, or in your alternate code.
Trust me, it is kind of a pain, but in the end you wind up with something that is fairly accurate, at least for government work. :)
Print Settings:
Printer: Creality Ender 3 v2
Rafts: No
Supports: Yes
Resolution: 0.20
Infill: 15%
Filament: Crazy Eddie PLA Traffic Yellow
Notes:
PETG works well here for strength and durability, but PLA should hold up as well. If in doubt, just change the wall thicknesses in the provided OpenSCAD source file. The smoother the print, the better, but I advise against aggressive sanding or filing.
Adjustment:
The finished print should be measured with calipers. The aluminum tape thickness should also be measured. Take a look at the code to see the calculation i used.
Expect a small error percentage. I am sure a decent Z-probe is very solid in that direction, but until now I have been using a piece of paper to judge the X and Y coordinates. I think this method is marginally better than that, and that's pretty good considering the out of pocket cost for this jig.
At this point, at least in CNCjs, I am not sure how to query the user for the bit diameter. I will keep working on this. I know that one can design a widget, but I have not tried this yet. Stay tuned. If you have a good way to do this, please leave a comment.
Rock on.
Category: Machine Tools
Tags
Model origin
The author marked this model as their own original creation. Imported from Thingiverse.