Escape From Tarkov - LABS LED Wall Sign

Beschreibung
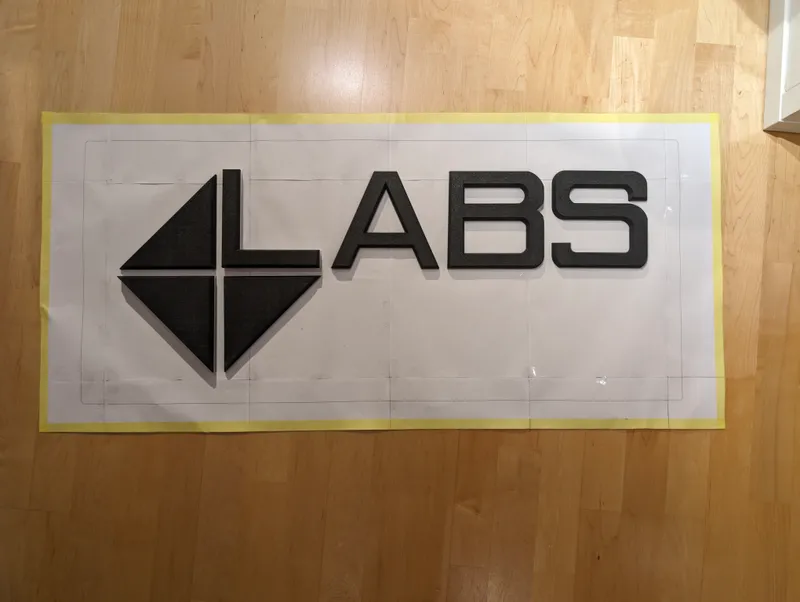
PDFI created a LABS Sign because I was not able to find one, which fits my wishes.
During my tarkov hype phase I wanted to have something, what decorates my gaming setup.

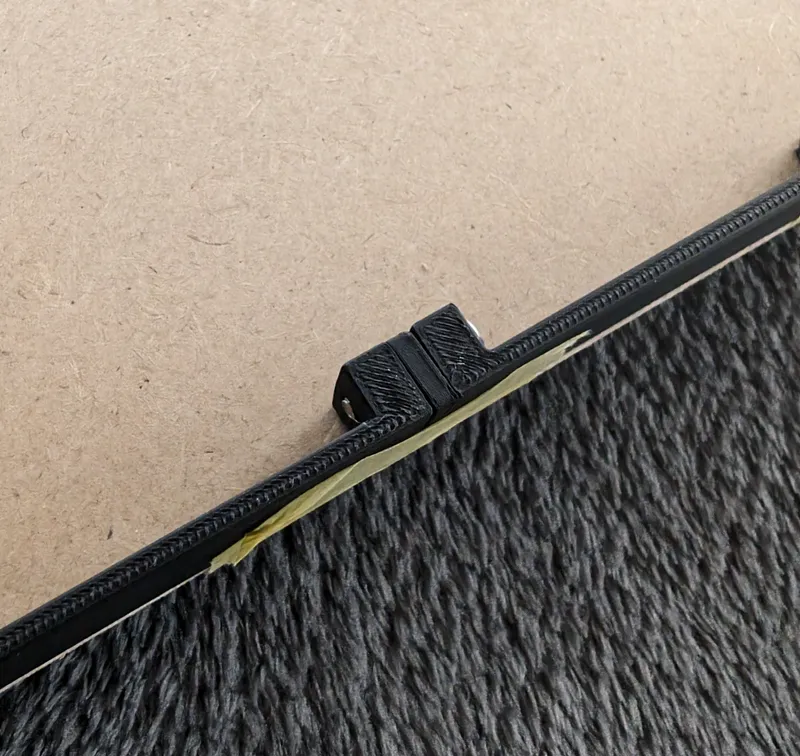
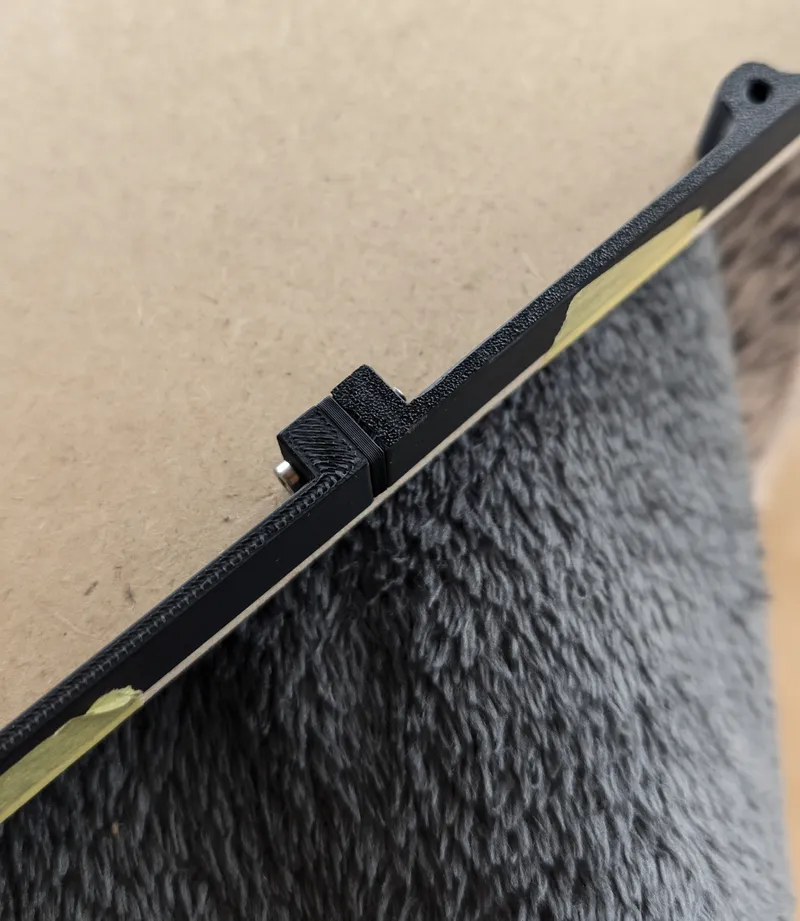
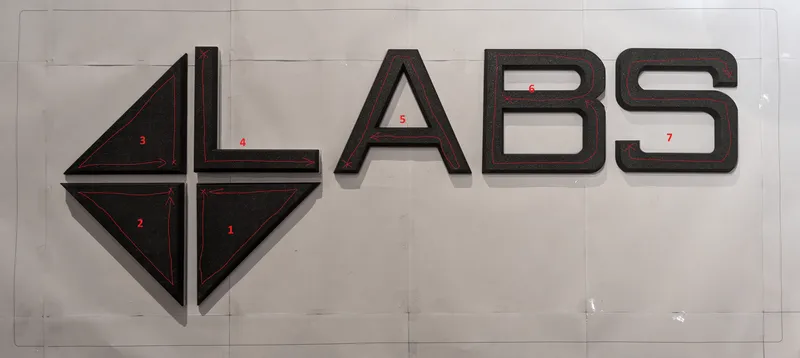
(do not keep an eye on the line which the A throws → A was not clipped completely onto the fixture need to glue it - after its clipped completely on the lower part the lines disapears)
For all, who does not know Escape from Tarkov - The Lab:
https://escapefromtarkov.fandom.com/wiki/The_Lab
I found an Tarkov Logo on Thingiverse from justinosss (https://www.thingiverse.com/thing:5161193) and adjusted this to my wishes.
Took the same dimensions, changed the letters, and the concept, so that everything fits.
Equiped with WS2812b LED Strips (60LEDs/m) it's possible to change colors.
Printsettings:
- Solid Black letters:
- Made of eSUN ABS+
- 4 Base Layers, 4 Top Layers, ~35% Infill, 3 Wall lines
- 0.2 Layerheight
- Transparent Base letters:
- Made of PETG transparent (noname customer)
- 3 Base Layers, 3 Top Layers, 0% Infill, 2 Wall lines
- 0.2 Layerheight
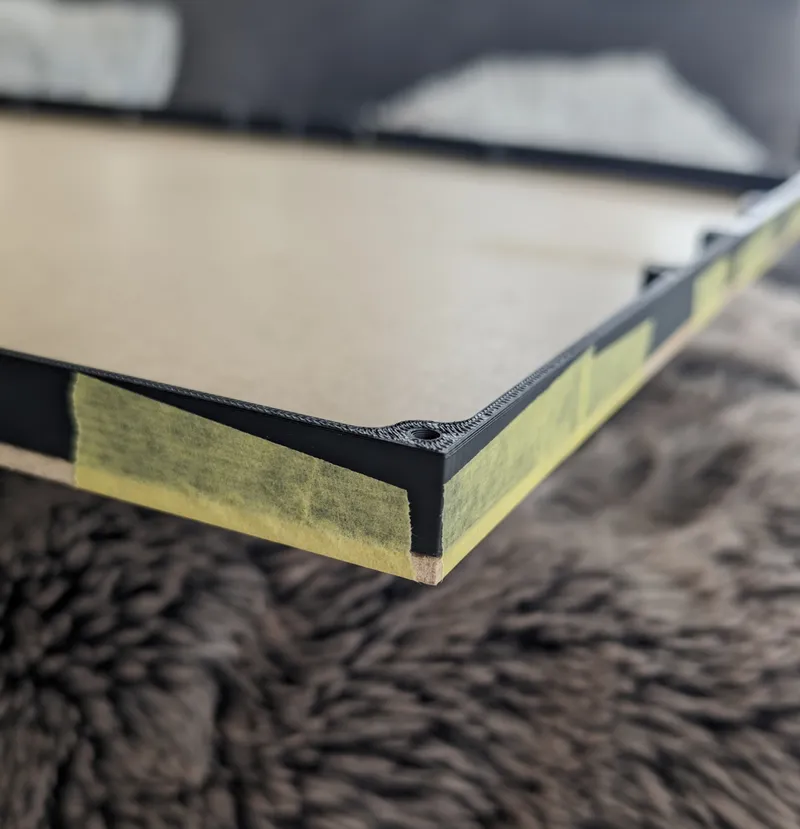
- Frame:
- Made of eSUN ABS+
- 4 Base Layers, 4 Top Layers, ~35% Infill, 3 Wall lines
- 0.2 Layerheight
Print Parts list:
.stl names should explain everything :)
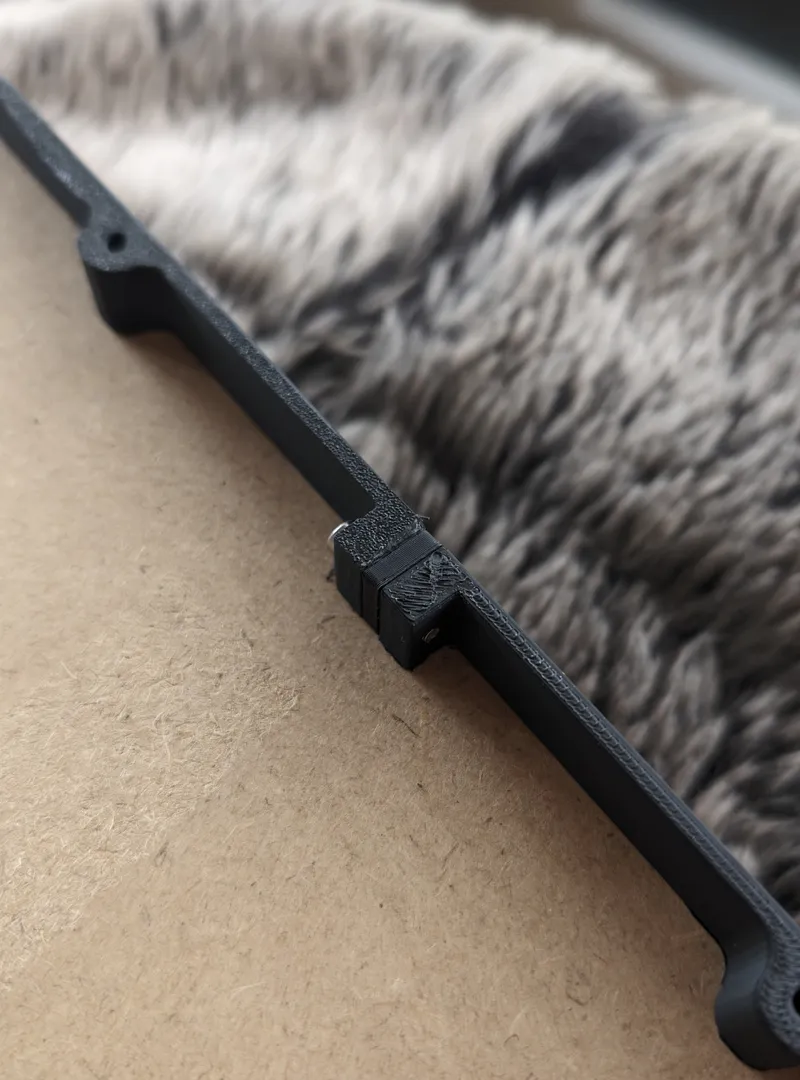
EFT_Labs_Sign-Edge_straight_4x → 4x to print
Parts (BOM):
- 18 x M3x10 (DIN 912) from front plate to frame
- 20 x M3x8 (DIN 7991) from back plate to frame
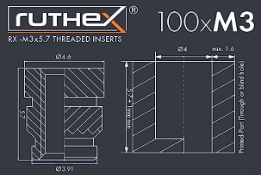
- 17 x M3 Heatinserts for the letters (M3 x 5.7)
- 17 x M3 x 10 (DIN 912) or (DIN 7991 if you want to have everything flush at the backside of the front panel) - used for fixing the letters to the plate
- 10 x M3x16-20 (depends on spacer can be longer) for screwing the frame together
- 2 x Thin white MDF plate in 850 x 380mm (2x if want to have a backplate and make the whole assembly stable - I personally recommend this)
- i bought this one incl. cutting at hardware store
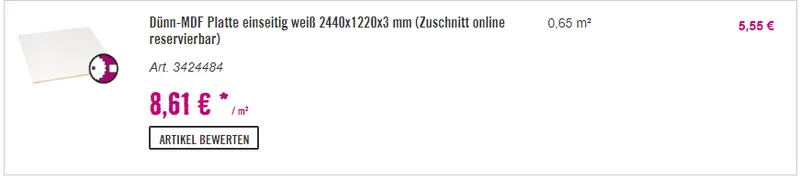
- Dünn-MDF Platte einseitig weiß 2440x1220x3 mm (Zuschnitt online reservierbar)
- Art-Nr. 3424484
- i bought this one incl. cutting at hardware store
- 1x Wemos D1 Mini or other microcontroller
- WS2812b (60 LEDs/m) strip (if you have >~3,10m it should be enough)
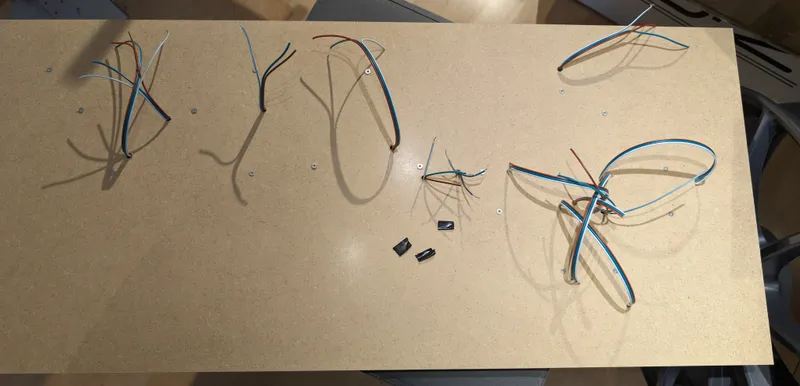
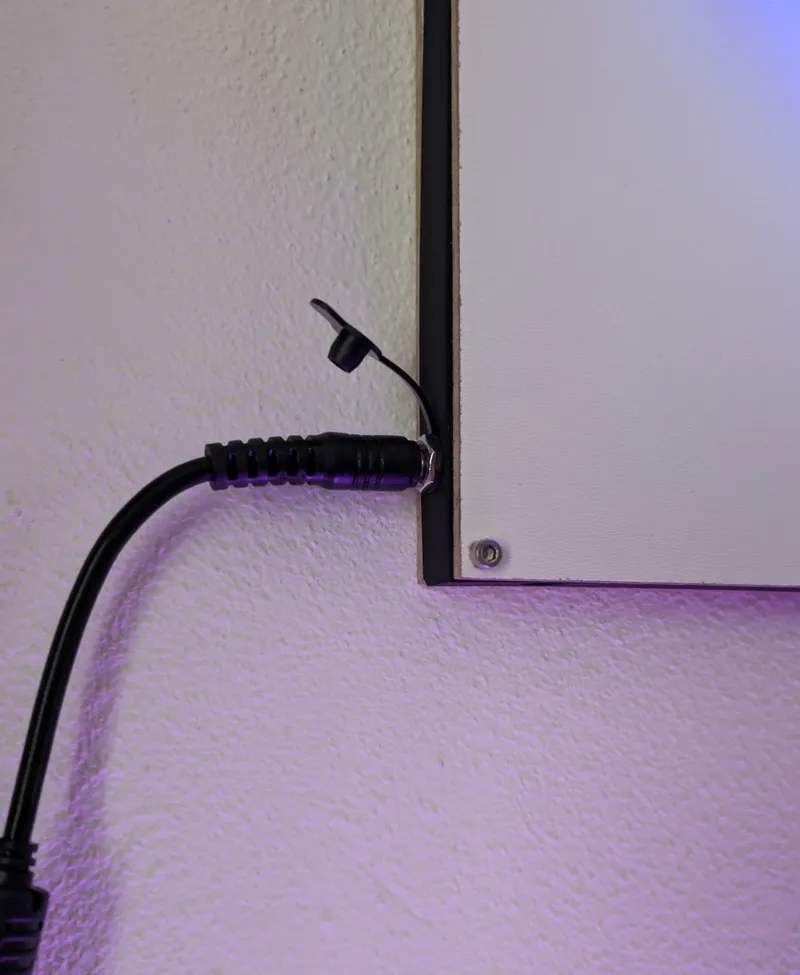
- Cable for connecting the led strips
- 5V connector
- 5V external power supply (155 LEDs in total → ~ 9A (45W) for full bright white)
- I personally use this light as decoration and for my taste 4A (20W) is more than enough - i have the light adjusted to 20% of full brightness and only using one color. The effect it still perfect.
- Running in this I have a estimated usage about: 838mA what equals 4,19W
Making:
- Printing Parts
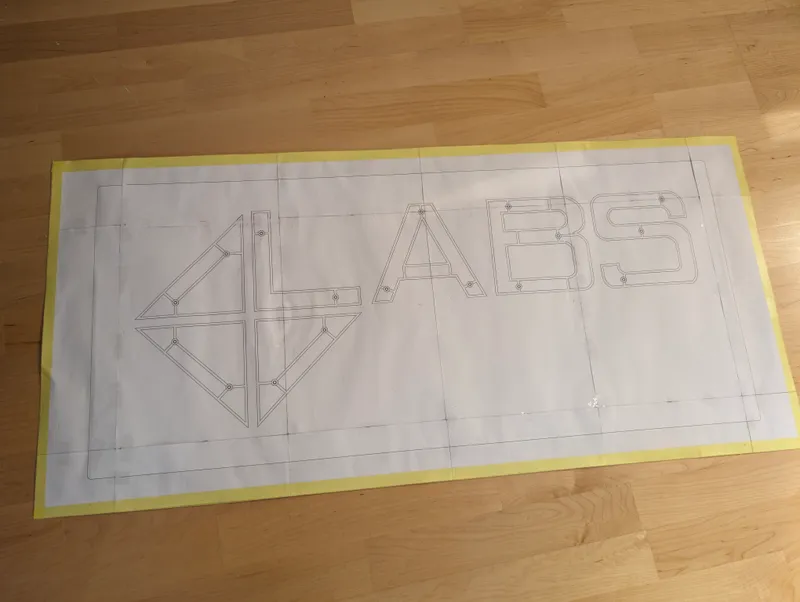
- Printing Blueprint (drawing) which I added as full dimension and as A4 print for gluing together
- Check Size of printed parts with the blueprint
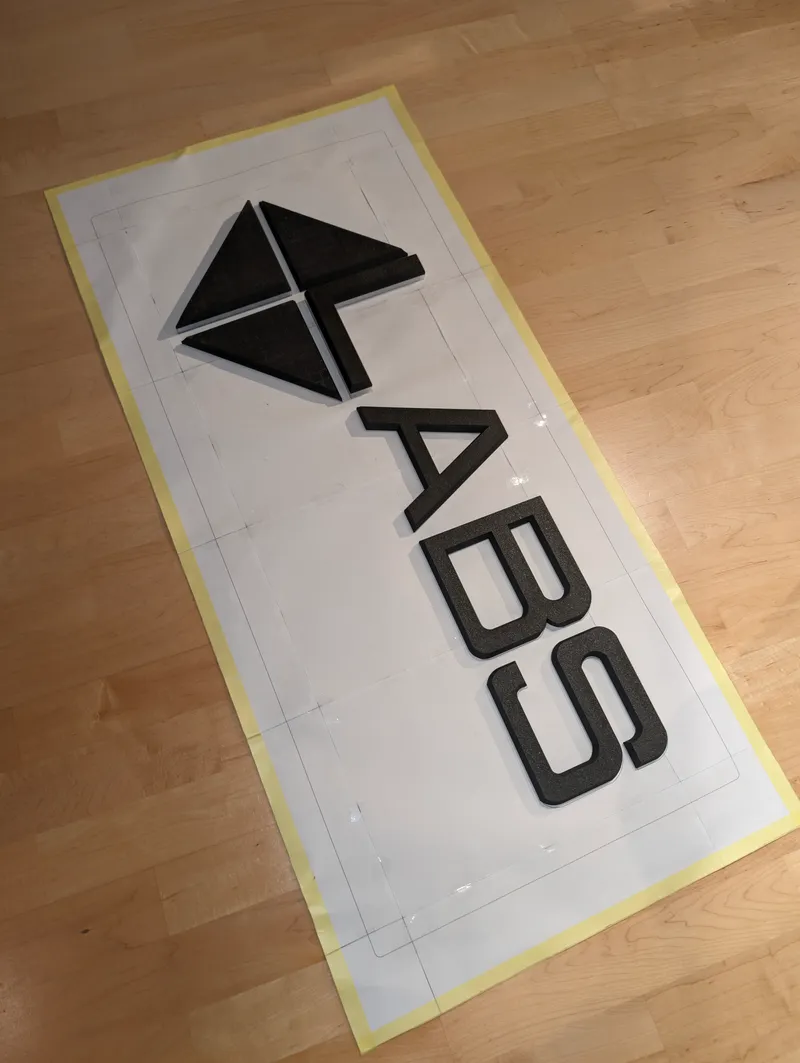
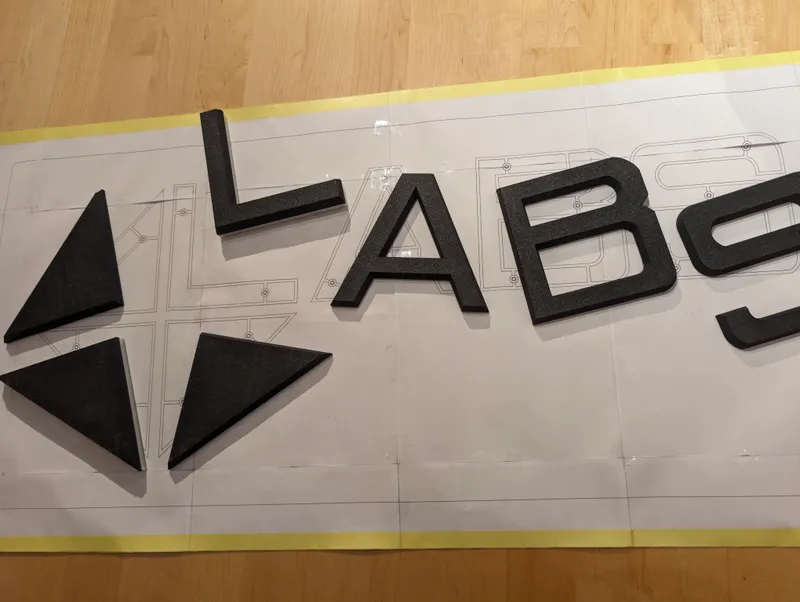
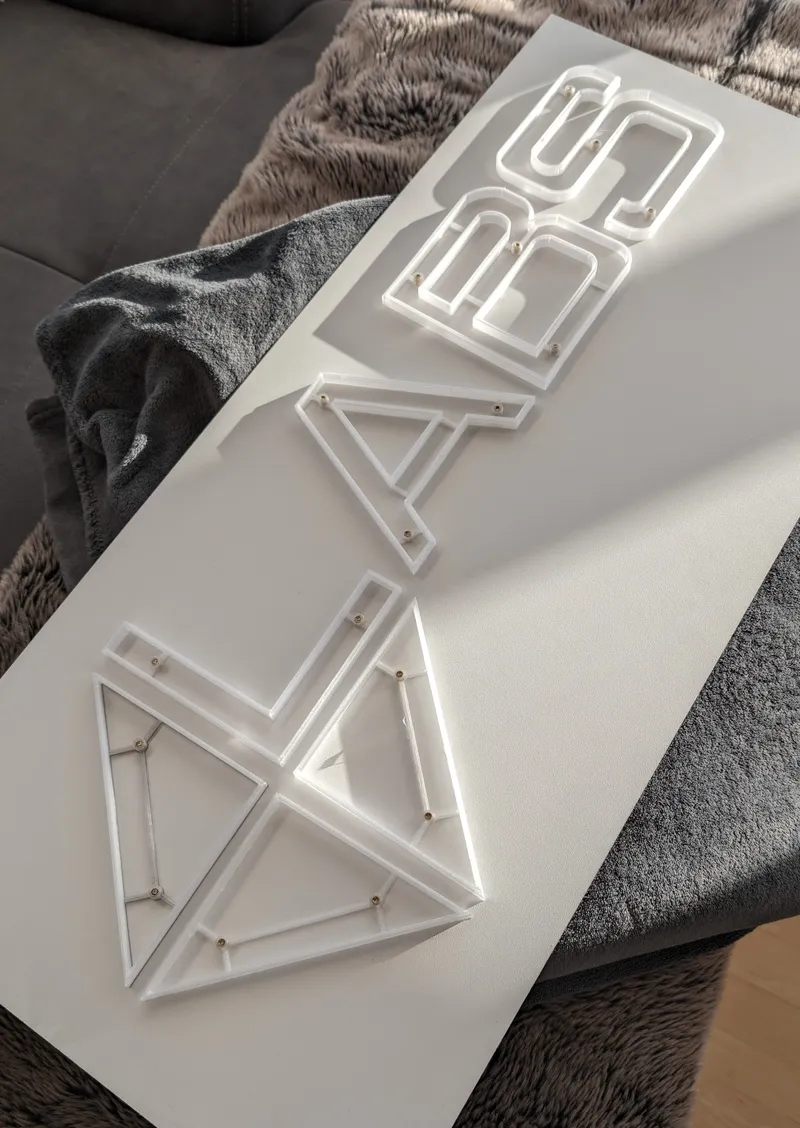
4. Check if upper (black) and lower (transparent) letter parts fit together
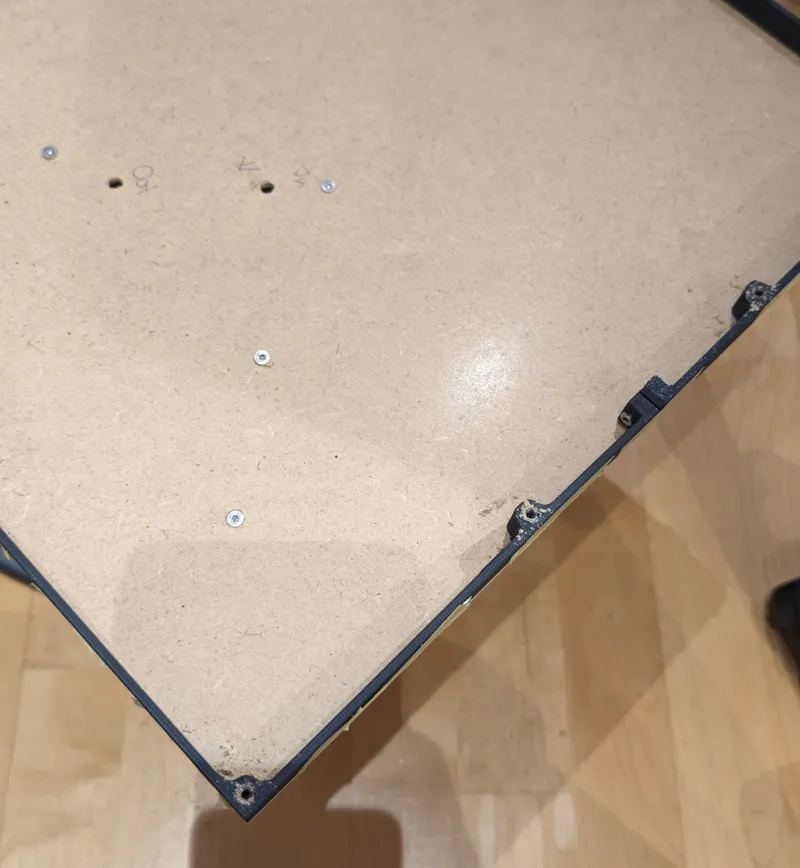
5. Tape the blueprint to the MDF plate centered, so we can drill the holes for the letters
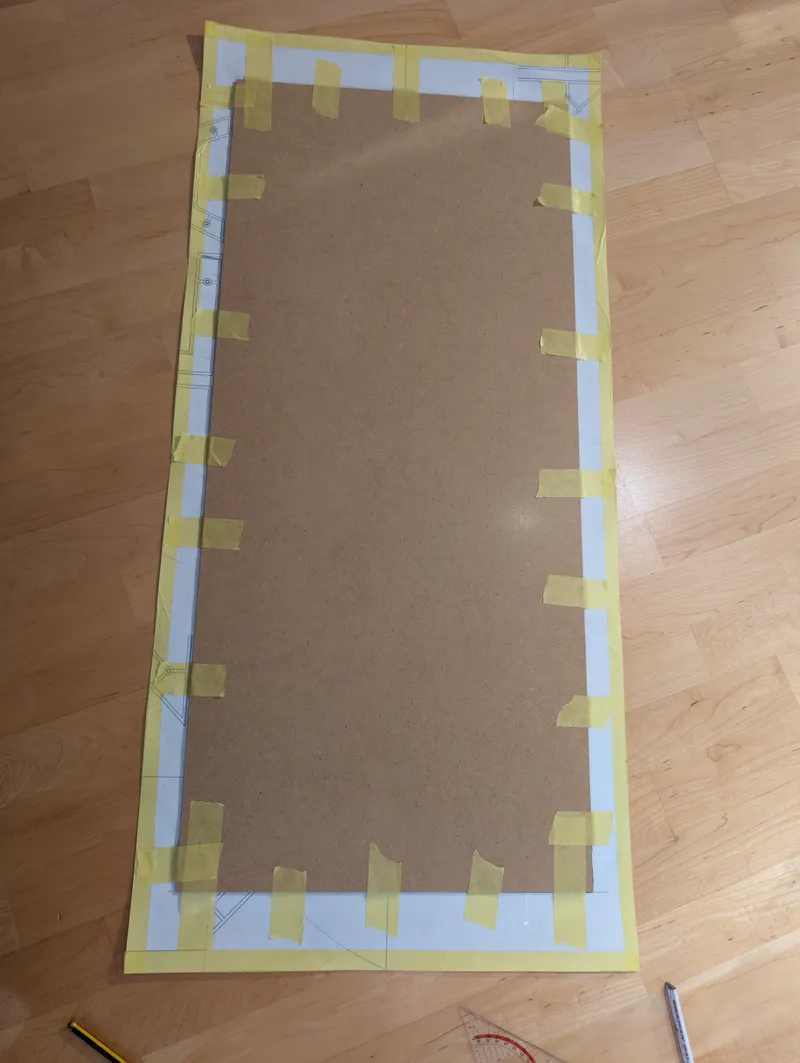
6. Use a center punch to mark the holes on the mdf plate and drill them afterwards with an 3-3.5mm drill

7. Screw the letters to the plate using (M3x8-10 does not matter if DIN 7991 or DIN 912)
I choosed DIN 7991 M3x10 and countersinked the backside of the white mdf so they are flush with the plate.
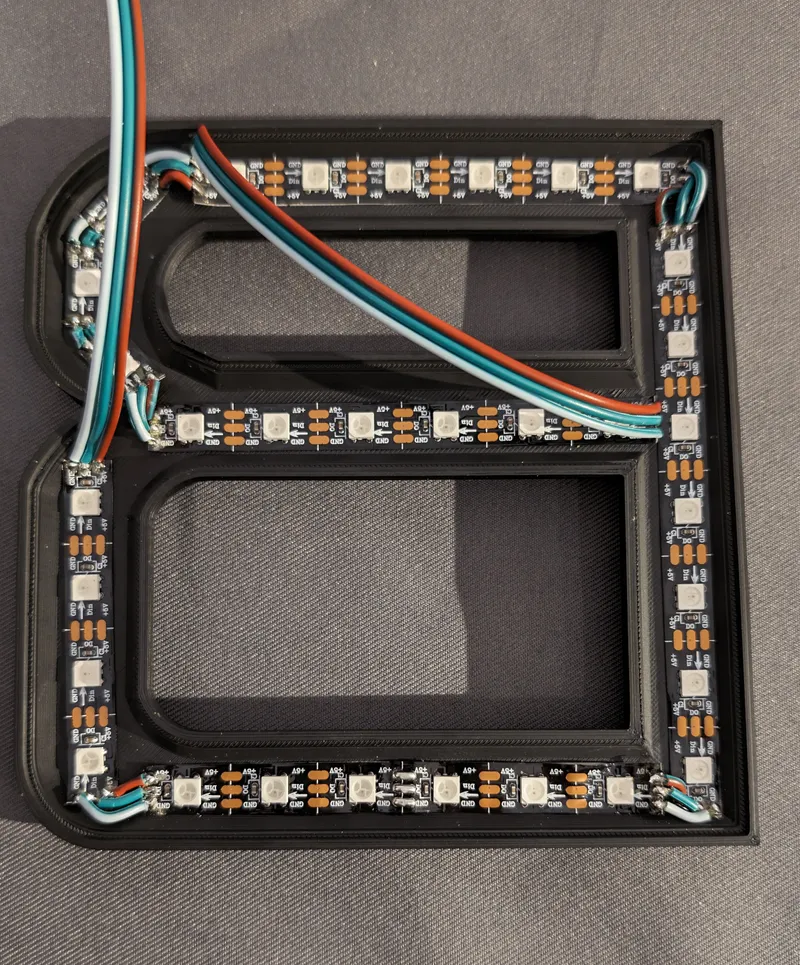
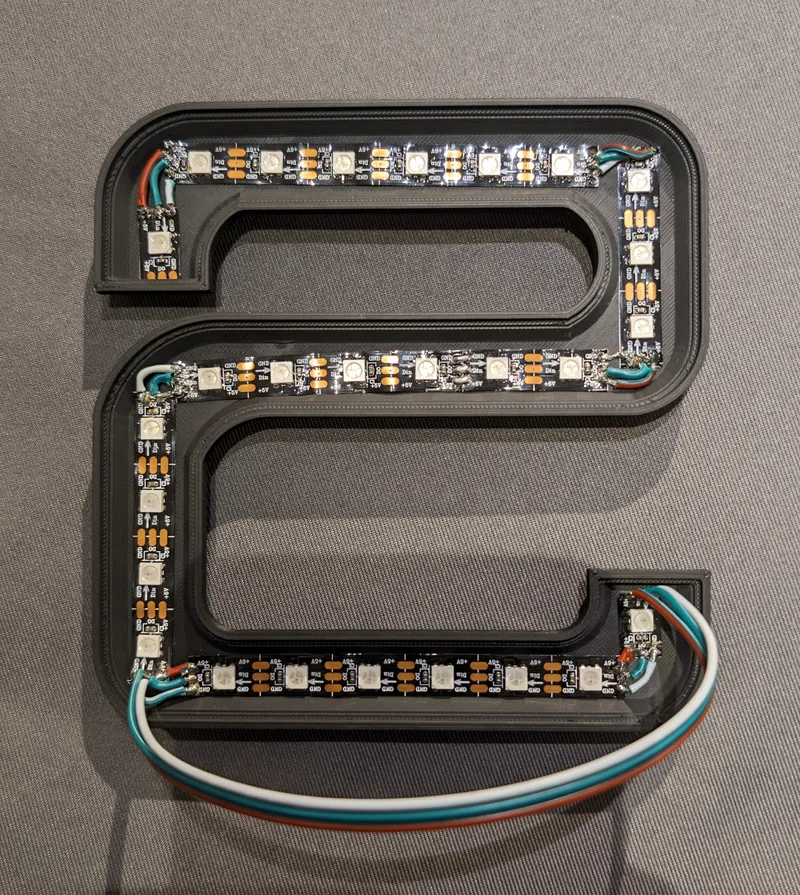
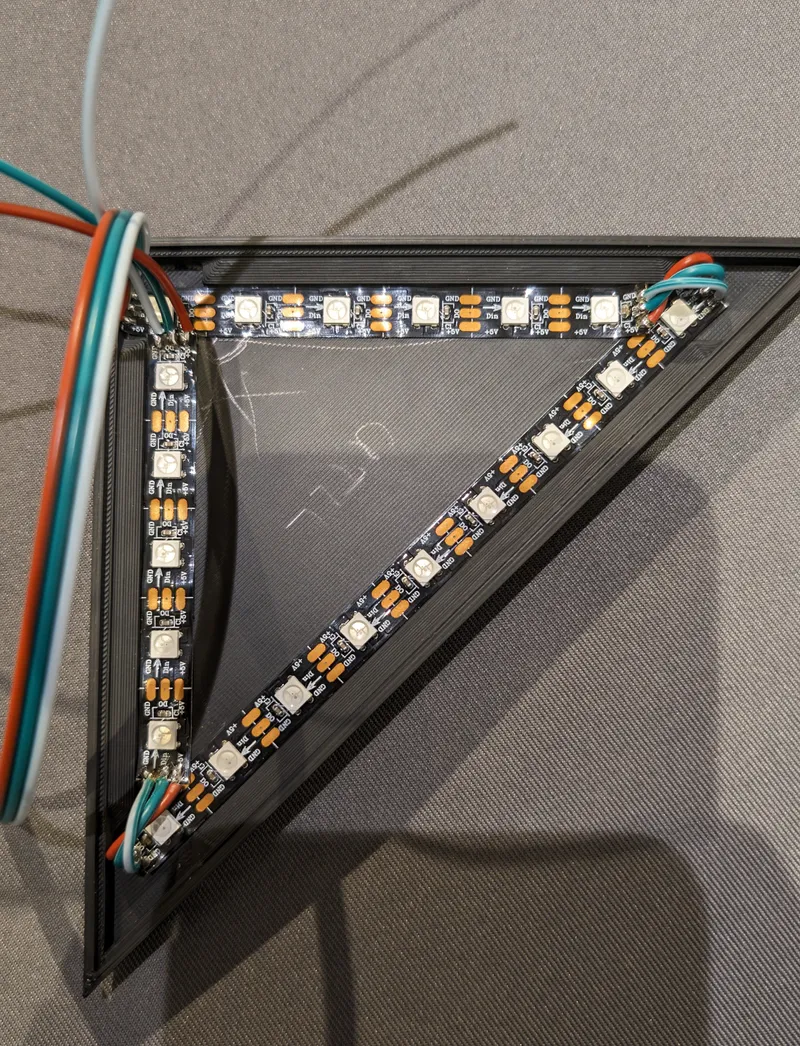
8. The hard part - keep calm: Solder all the letters with the WS2812b LED Strips. Keep attention to the direction of the data steam. Have a look at point 14 first!
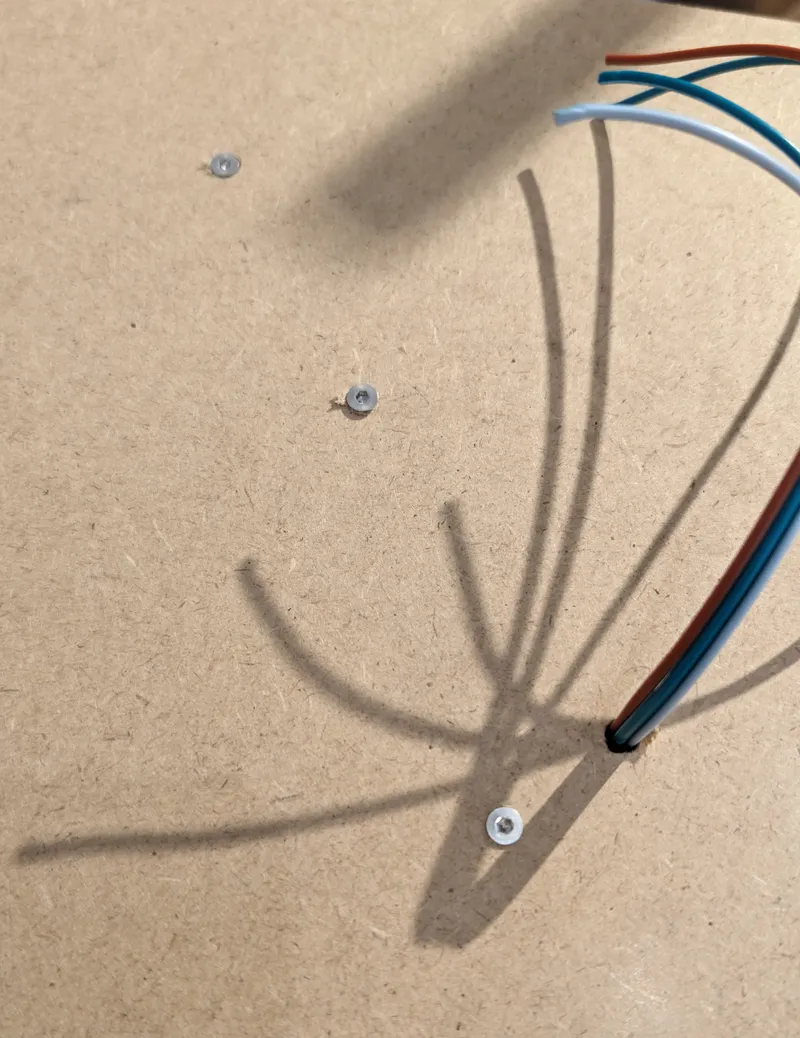
9. Drill holes for the cables in the MDF plate so you can lead the wires through
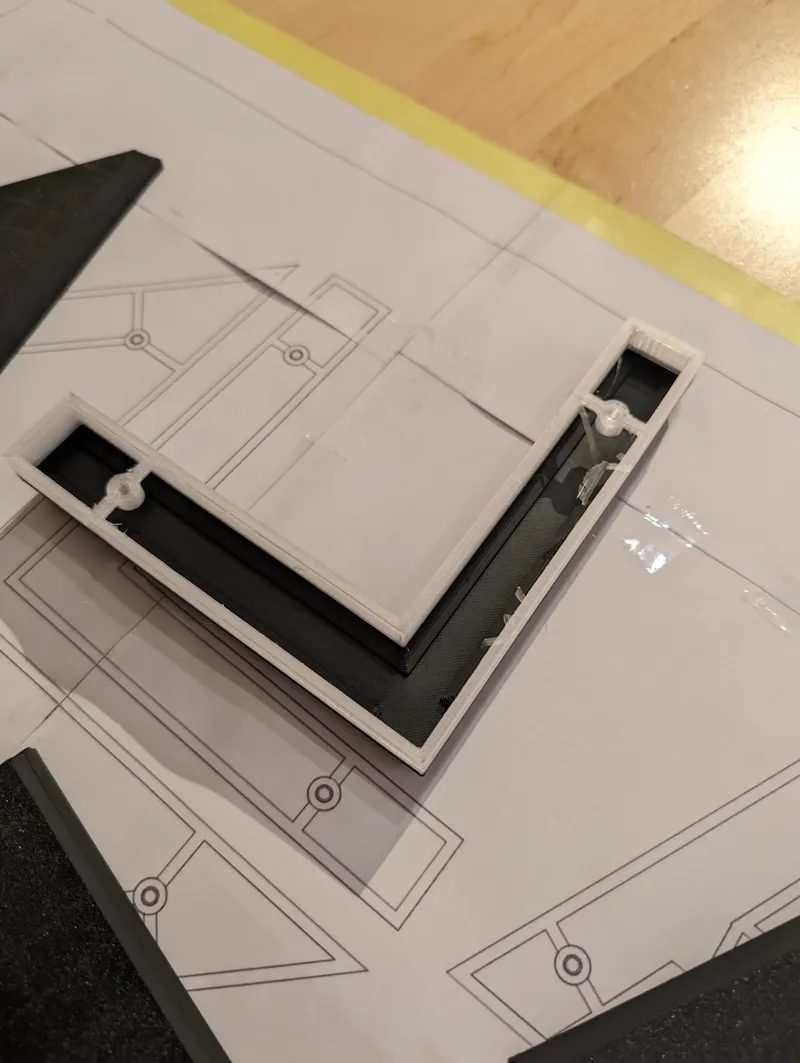
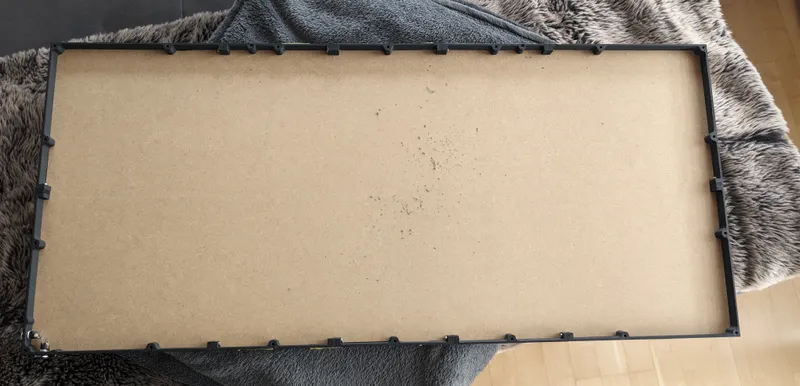
10. Prepare the frame, screw it together and make it fit with the spacers to the MDF plate, because of the cutting there could be some tolerances.
11. Tape the frame to the front plate and align everything

12. Drill all the holes with an 2-2,5mm drill to not drill the plastic parts
13. Make the same on the back plate
14. Screw the front plate to the frame using M3x10 (DIN 912) - do not overtighten - the screws are directly screwed into the plastic
15. Prepare the wiring and test it first before soldering. I used WLED for controlling the LED strip. There are enough instructions online. Keep attention that the Dataline has to move from the first to the last letter in one way. I soldered everything like that:
16. Due to the full length of the led strip (in my case 155 LEDs) you should use an external power supply. Wiring all letters in parallel keeps the voltage drop low and you have no brightness drop.
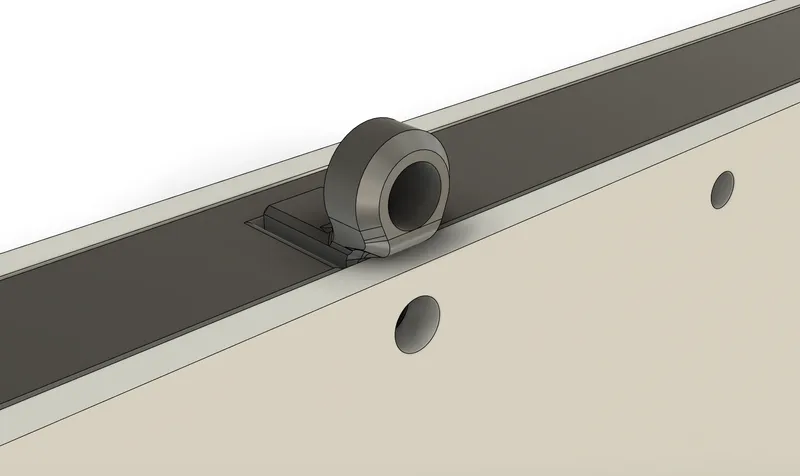
17. Screw everything together. The back plate onto the frame (using M3x10 (DIN 7991)) and use the hooks which are also connected with an M3x10 (DIN 7991) to the back panel. Drill an additional hole here.
18. Hang the artwork to the wall, connect and enjoy it. Looking forward to see your gaming setups.

Have fun while building.
Feel free to ask questions or to change something.
Tags
Herkunft des Modells
Der Autor hat dieses Modell als seine eigene Kreation gekennzeichnet.