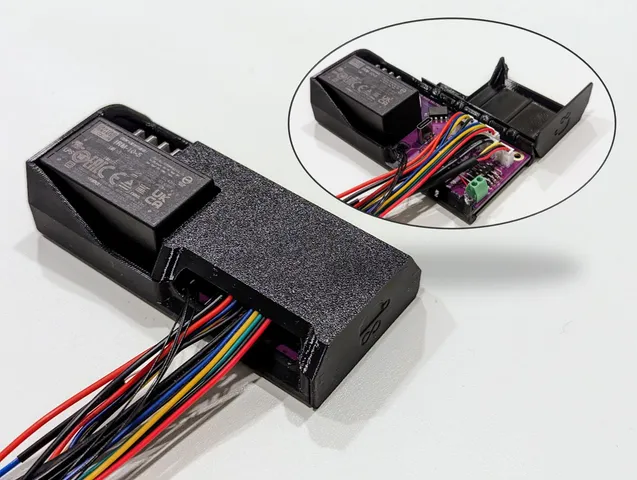
Gaggiuino Component Housing

Beschreibung
PDFNotes:
- If you want to use this with an Arduino Nano build in a Gaggia Classic, please also print the Gaggiuino Optocoupler Case
- There are now two accessory parts: A stripboard mount and cable strain relief (see changelog). The stripboard mount is not compatible with previous housing versions.
- This design is for internal use only, ideally within a grounded espresso machine.
Parts and Mounting Locations:
This housing provides locations for:
- Arduino expansion board (with STM32 Blackpill or Arduino Nano mounted)
- PSUs (120 VAC → 12 VDC + 12 VDC → 5 VDC PSU)
- Relay
- Dimmer
- MAX6675
- ADS1x15 board
- Snubber (https://www.aliexpress.com/item/3256803573244277.html)
- Stripboard, solder bundle, or Wago terminal blocks for DC power distribution. Stripboard recommended (https://www.aliexpress.com/item/2251832661583259.html)
- 7 screws (see “Housing Fasteners” below)
Please see https://gaggiuino.github.io/#/ “Bill of Materials” section for more information on components, and the “Lego AIO Housing” section for STM32 build instructions and schematic.
Housing fasteners:
The housing was designed for 7 M2.9x6.5 self-tapping screws. These are the same screws Gaggia uses for attaching to the plastic fill funnel (PN DI7981P2.9X6.5I or 996530054164). Component screws (qty 2) must be no longer that 1/4 inch / 6.5 mm. Outer housing screws (qty 4) must be no longer than 1/2 inch / 12.7 mm.
If you just want to blindly order off of AliExpress then this is an option (50pcs M3, 6mm): https://www.aliexpress.com/item/3256802230982244.html
Otherwise, any of the following screws will work (get whichever are available in your area).
- #4-20 thread rolling screws (these are the Imperial/Standard equivalent to the Gaggia screws)
- M2.9 self-tapping screws (this callout is almost exclusive to screws for plastic)
- M3 self-tapping screws for plastic (coarse-thread screws for use in plastic)
- M3 screws (standard machine screws, not as secure as above, but will work)
- #4 wood screws (only if you have no other option)
Accessories:
The cable strain relief is fairly self-explanatory: Zip-tie it to the cable bundle(s) just inside the housing pass-through to prevent wires from getting pulled. Don't bend the tie mount post - the part is designed to be strongest in the direction of the cables, not across.

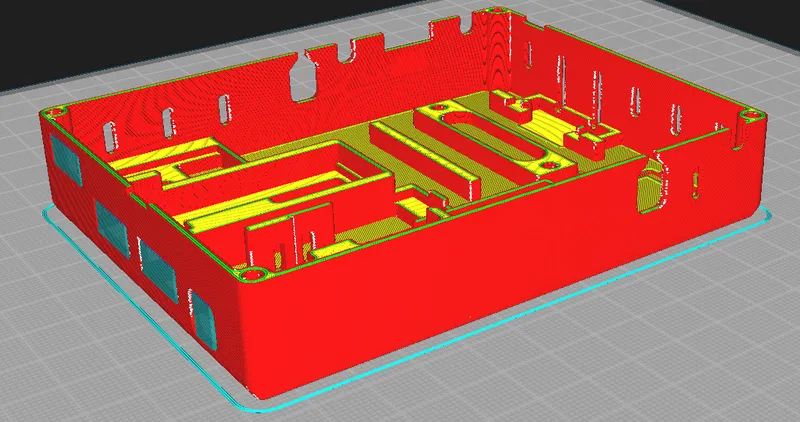
The stripboard mount slots into the housing after soldering but before the expansion board is screwed down. It's removable so that those who still want to use Wagos, solder bundles, etc. still have room to do so. Max stripboard size is 5 rows x 8 holes plus the half edges (or 16.8 mm x 23.2 mm) as shown below. Note that it is shown unsoldered for clarity - stripboard install should be done post-assembly.


Recommended Print Settings:
PETG, 0.2 layer height, 2-3 wall lines, 235 C nozzle, 85 C bed, 80 degree support overhang angle if you're not confident in your bridging (see image recommended supports). 20% gyroid infill. No adaptive layers.
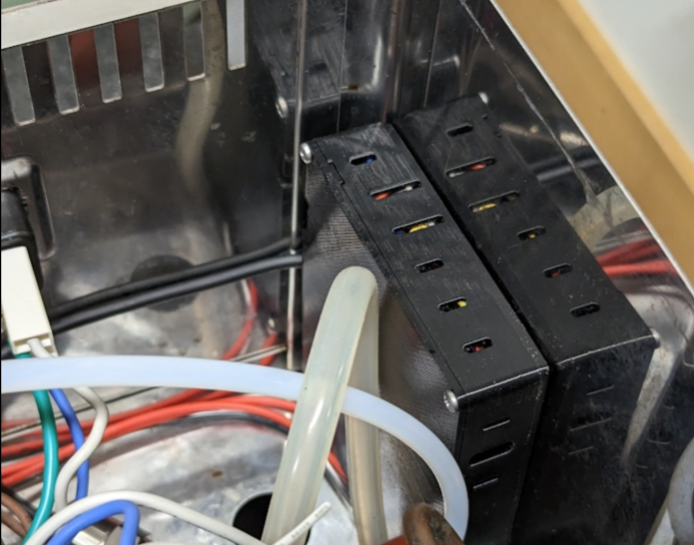
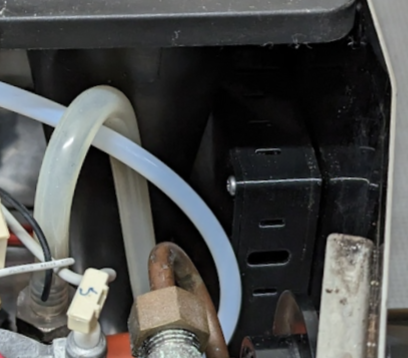
Location in Machine:
- GC recommended location is behind the funnel (GCP location will also work).
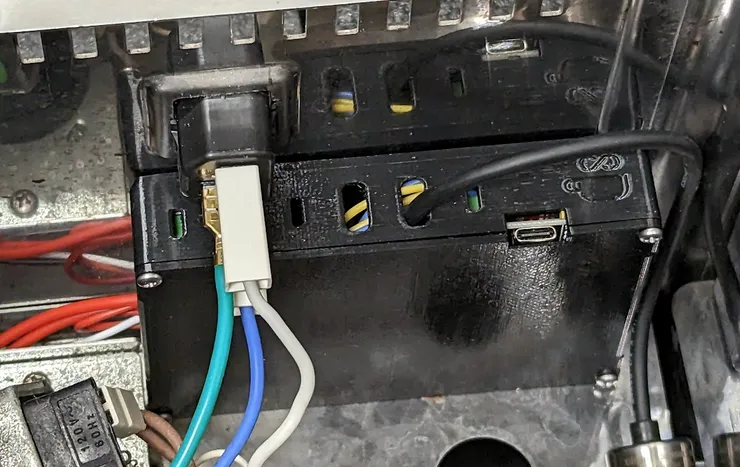
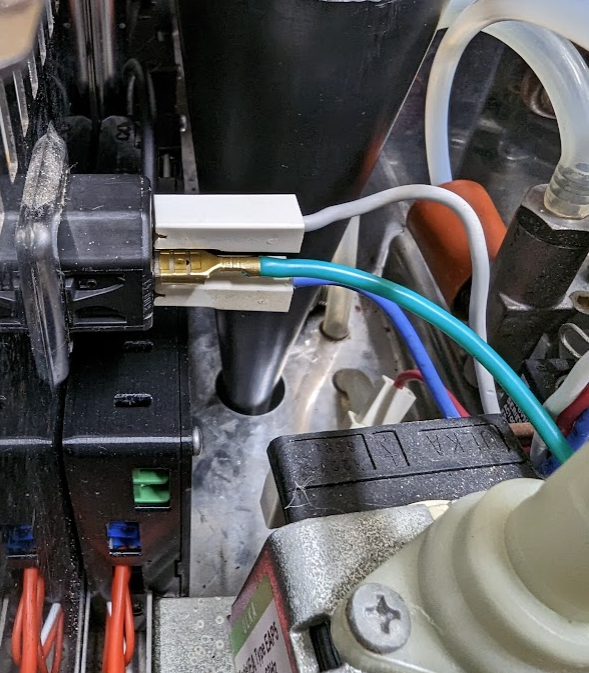
- GCP recommended location is oriented vertically next to the funnel (depending on the machine it may also fit vertically behind the funnel)
Quick Note:
If you've read all this way, congratulations! This design is ready to jump off of a 3D printer and into your espresso machine (with a bit of help from you). If this is your first exposure to Printables I'd like to encourage you to make an account, like & download the Gaggiuino models to increase the project's visibility, and check out the great Printables community!
Updates:
- 2022-09-06: Added a spot for the ADS1x15 board, adjusted screw holes for greater compatibility, fixed an interference between the lid and housing, added a hold-down feature to the lid for the relay and dimmer.
- 2022-09-07: Fixed one screw hole, printed, good to go.
- 2022-09-13: new GC_P models added!
- 2022-09-17: Changed GC_P housing clearances slightly to make it compatible with JST-XH connectors (optional, not required). The cover was not changed. At this point the GC_P housing is recommended over the GC housing.
- 2022-11-10: In response to the ADS possibly being too close to AC components I added a second ADS location right of and under the nano breakout board. New location has not yet been tested.
- 2022-11-18: Release of new housing with snubber location, improved corner access to fit stripboard, increased clearance to STM32, additional cooling vents in body, moved new ADS location slightly and added cooling vents for it.
- 2023-01-22: Removed old ADS location near the relay as new ADS location has been working well. This improves the first layer print quality, shortens print time slightly, and provides additional room for wiring. Removed build instructions/diagrams/notes as those have been added to the official Gaggiuino documentation at https://gaggiuino.github.io/#/
- 2023-02-17: Loose wiring/cables heading outside of the housing can now be slipped in for ease of installation. Added stripboard mount and cable strain relief accessory parts (optional). The stripboard mount can hold a stripboard 5 full rows wide (with 2 half rows on the edges) and up to 8 solder positions long (with 2 half positions on the edges). Added additional room under the level of the expansion board for wire routing.
Tags
Herkunft des Modells
Der Autor hat dieses Modell als seine eigene Kreation gekennzeichnet.