First Layer Calibration Test
Popis
PDF10/9/22: Permissions on the Google sheet have changed to view only so once you open up the link, please make a copy for yourself!
Also i would advise you to take a screen shot of your original settings if they are currently working for you before undertaking the test.
19/4/22 : I have made up a quick google sheet to make it more streamline to use along side this print.
Heres the link
https://docs.google.com/spreadsheets/d/1VmEhMNg5xyGLovsi_V3ABza4UCeJIqlS9OnMgWPqQio/edit?usp=sharing
Feedback is always welcome! Cheers
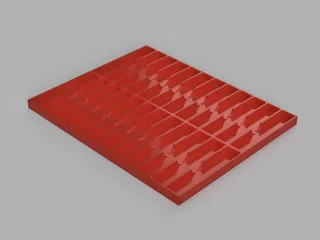
This is a Live z height test to help get an accurate first layer height tuned in.
The model steps up from 0.20 mm in 0.20 mm increments up to 1 mm in height.
Print instructions
Warning User discretion is needed here. You will need a baseline z height set already to do this test, so just get it reasonably close by eye then take this test.
Instructions:
Slice the model in 0.20 mm layer height in your chosen material. Ensure the first layer height is set to 0.20 mm. Print the model and take a calliper or micrometer measurement in the middle of each square and note these down. You then plug your values into the formula so EXPECTED VALUE - ACTUAL VALUE = VARIATION
You then average your variation over the 5 heights to give you the overall variation. You then take your CURRENT LIVE Z +- VARIATION (This depends of whether you need to go up or down)
to give you your new z height. If you get your new z height within saying 0.05 or 0.10 of the height of the square i would stop here and use caution so you don't scratch your print bed. User discretion is advised here. Eg. Your first square should measure very close to 0.20, second square 0.40, and so on.
I use the new feature to set different sheets up on the printer. So you can set up a custom sheet for each material that way you'll never have to mess around with the z heights when swapping materials. Once you have your new z height amount and you have set up your materials in the HW menu, make sure you have the right sheet turned on then go into settings > live adjust z > enter in new amount and repeat test. Remember get close enough but monitor the surface so you don't damage your nozzle or bed.
Štítky
Původ modelu
Autor zatím neuvedl původ modelu.


